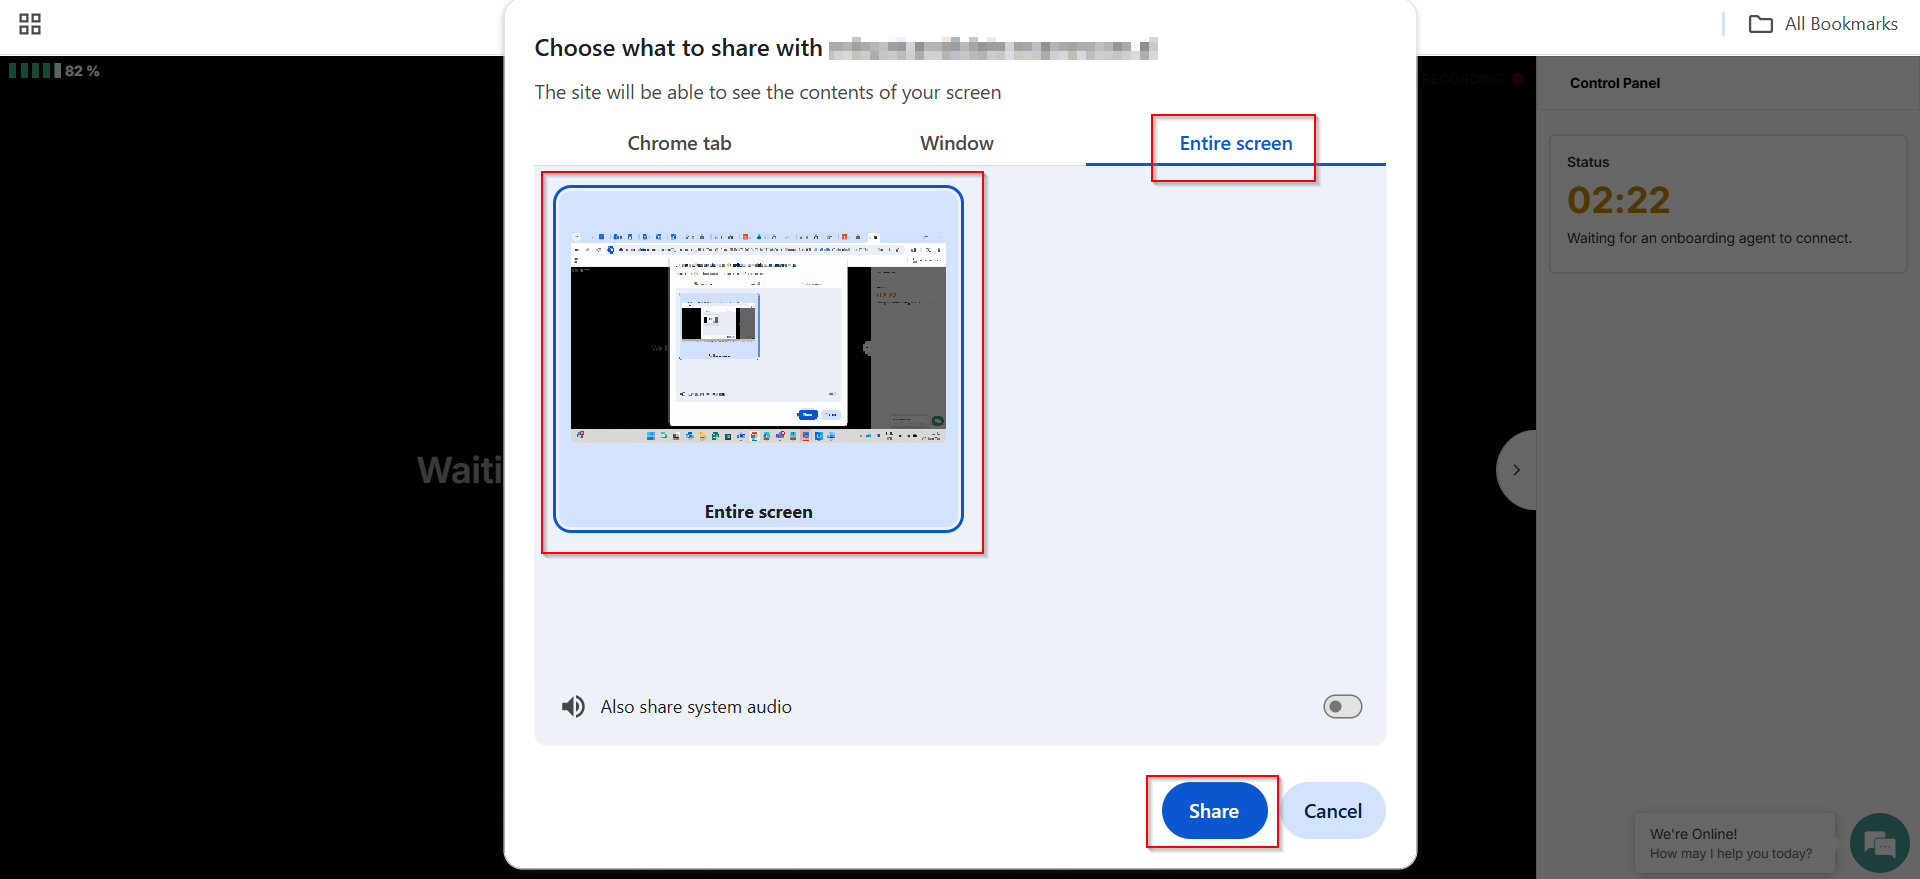
By clicking I agree, a pop-up appears for the screen share. Select the entire screen option, click the small image in the center of the screen, and click Share.
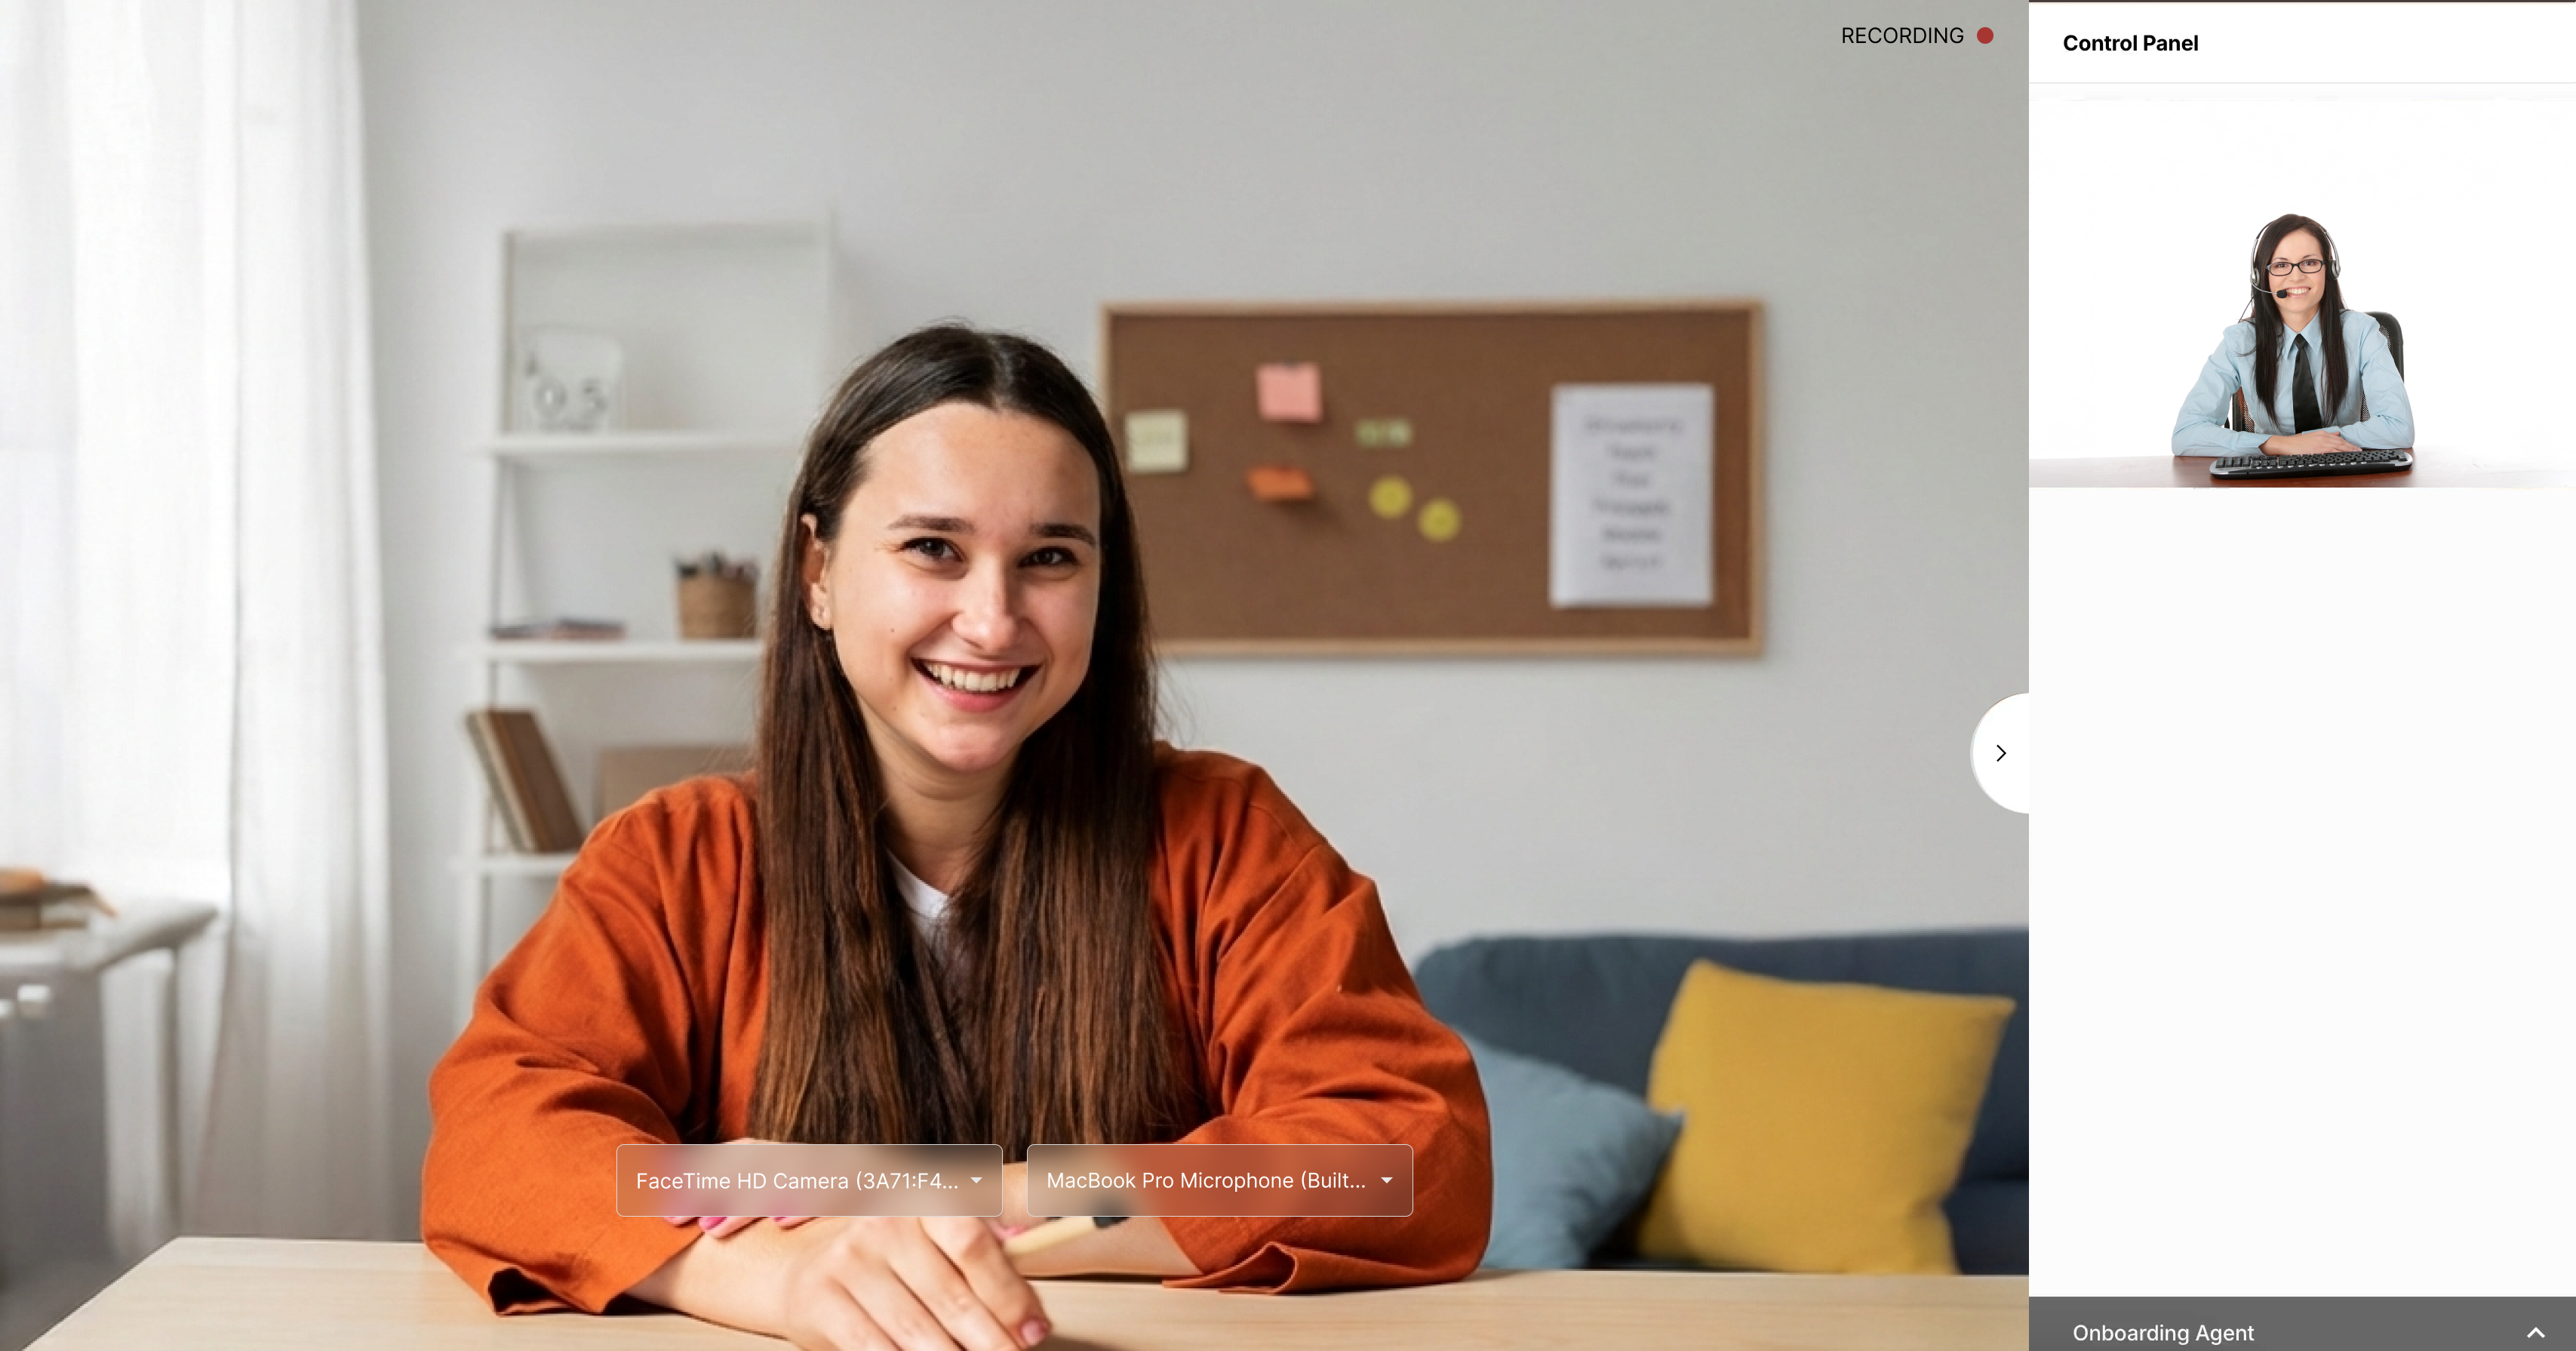
The status in the control panel shows waiting for the onboarding agent, and once OBA is connected, you will be able to see them in the control panel.
Now, as the OBA begins your ID verification process, a consent message will be displayed in the control panel to provide consent for the face verification.
Select the checkbox and click Iagree to provide consent for your face verification.
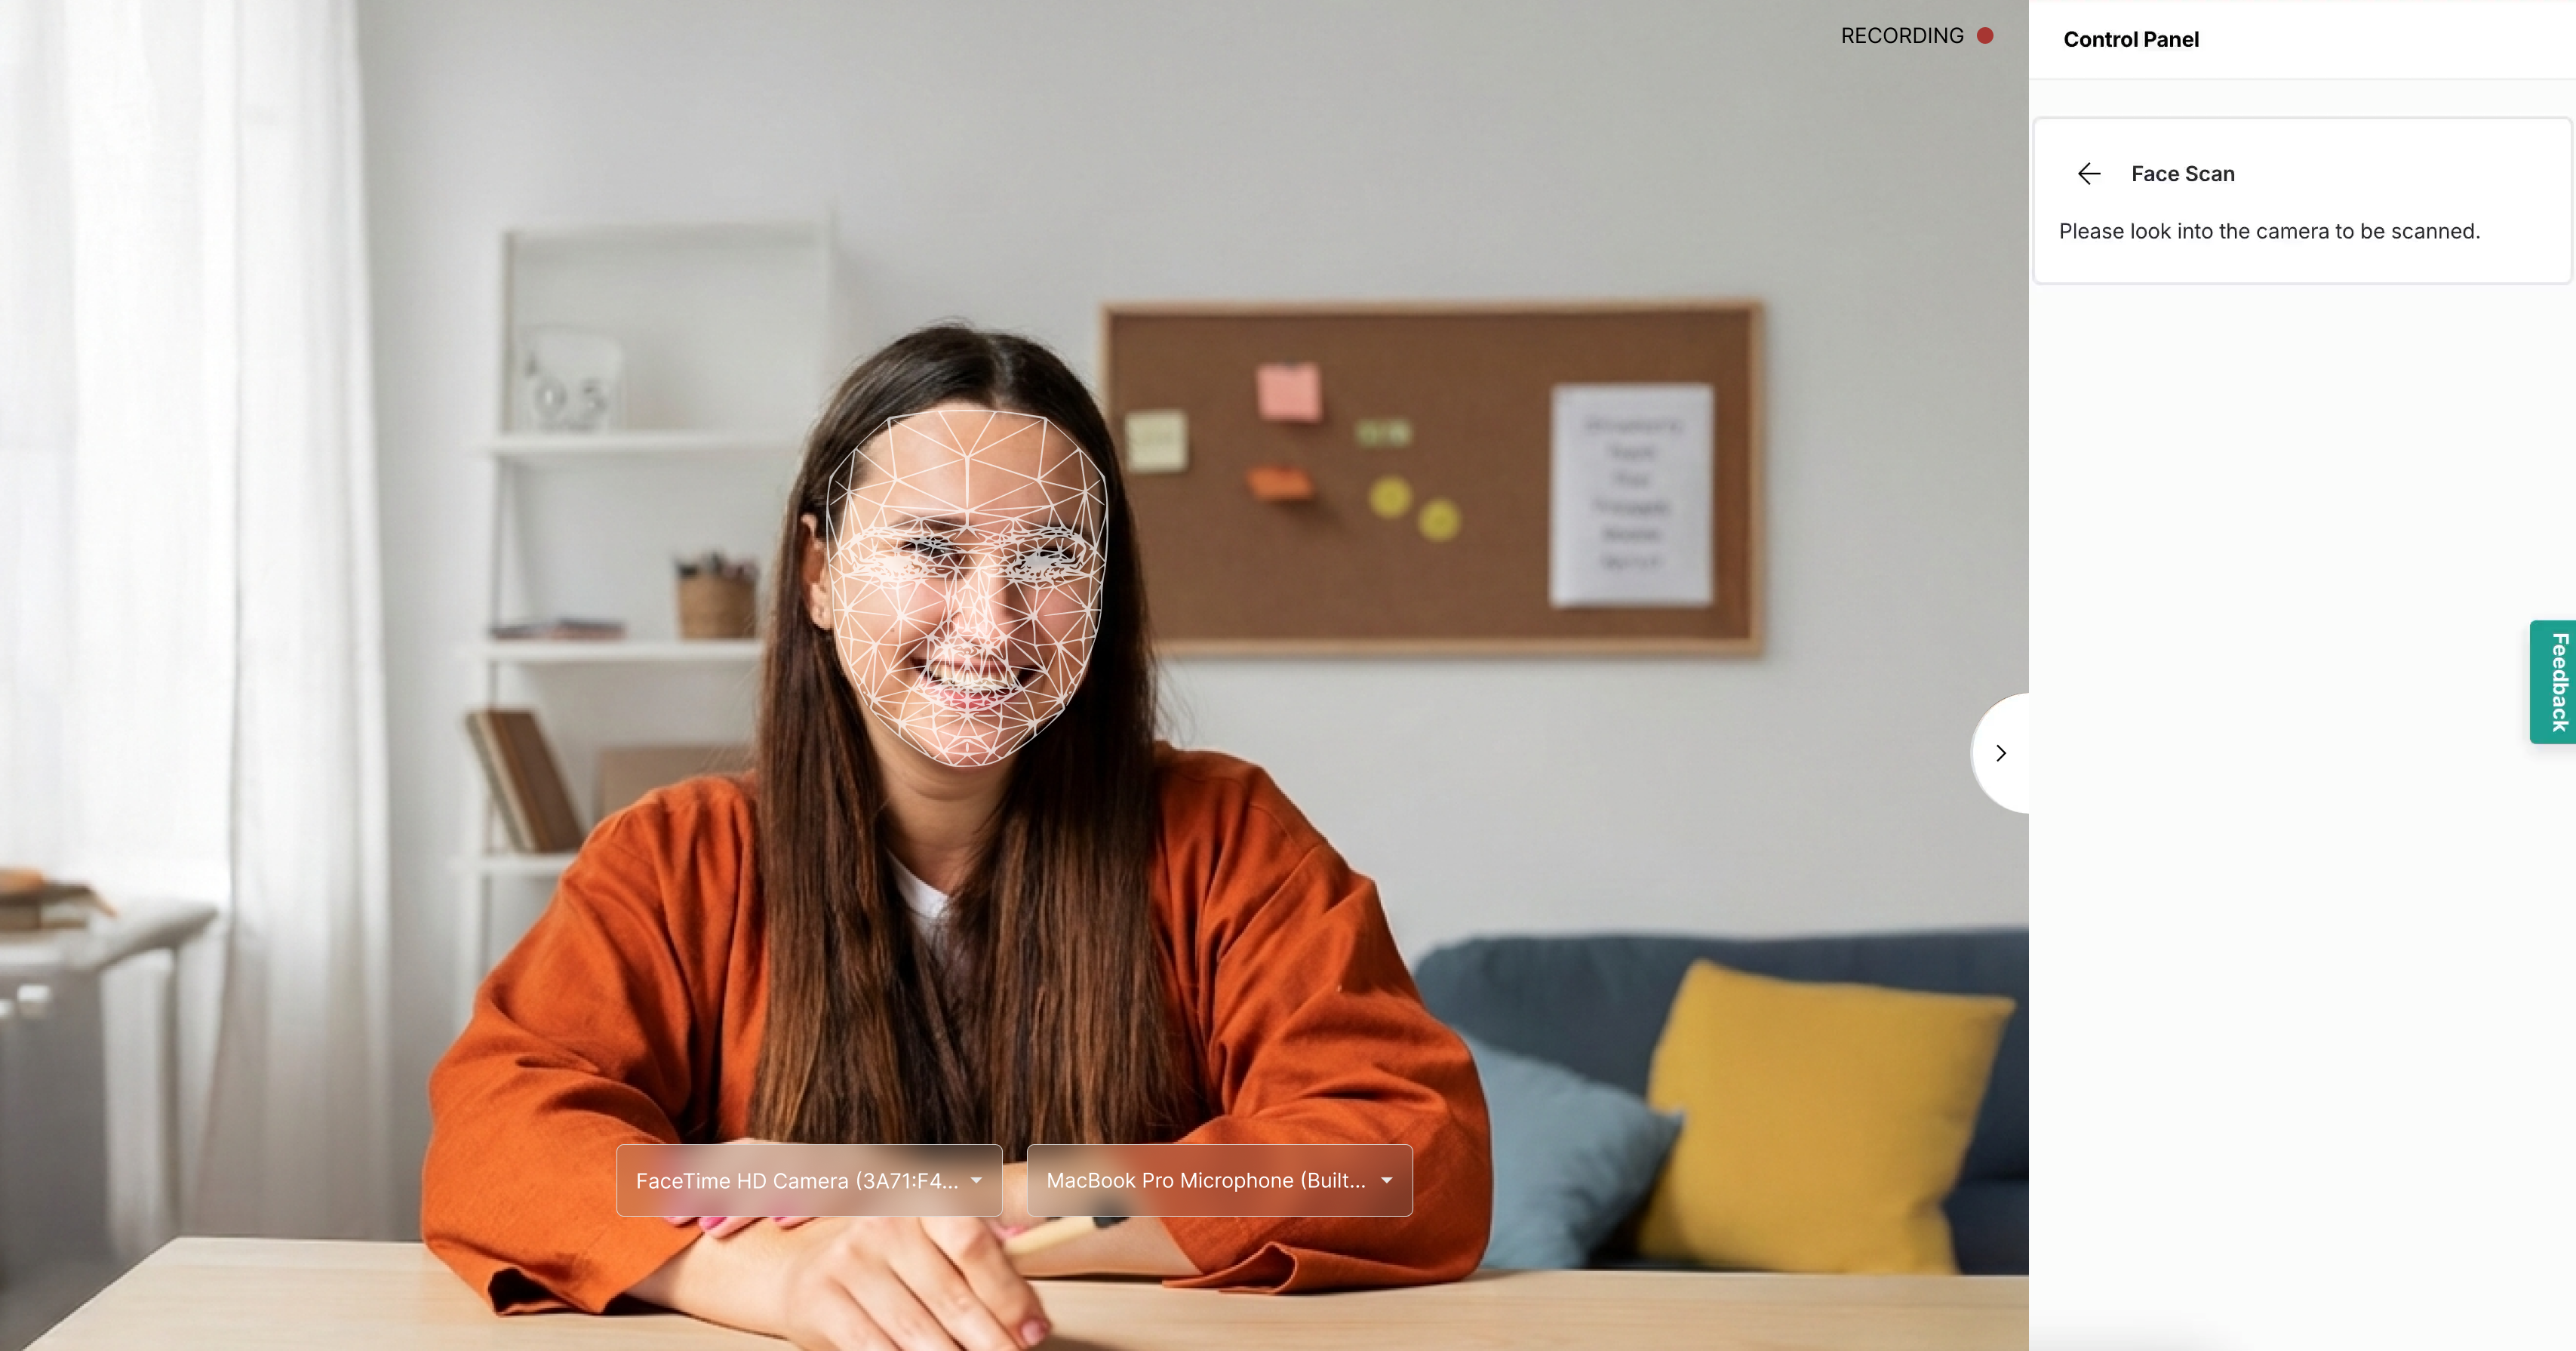
As directed by the OBA, look directly into the camera while a photo of your face is taken.
A consent message will be displayed in the control panel to provide consent for the ID verification.
Select the checkbox and click Iagree to provide consent for verifying your ID.
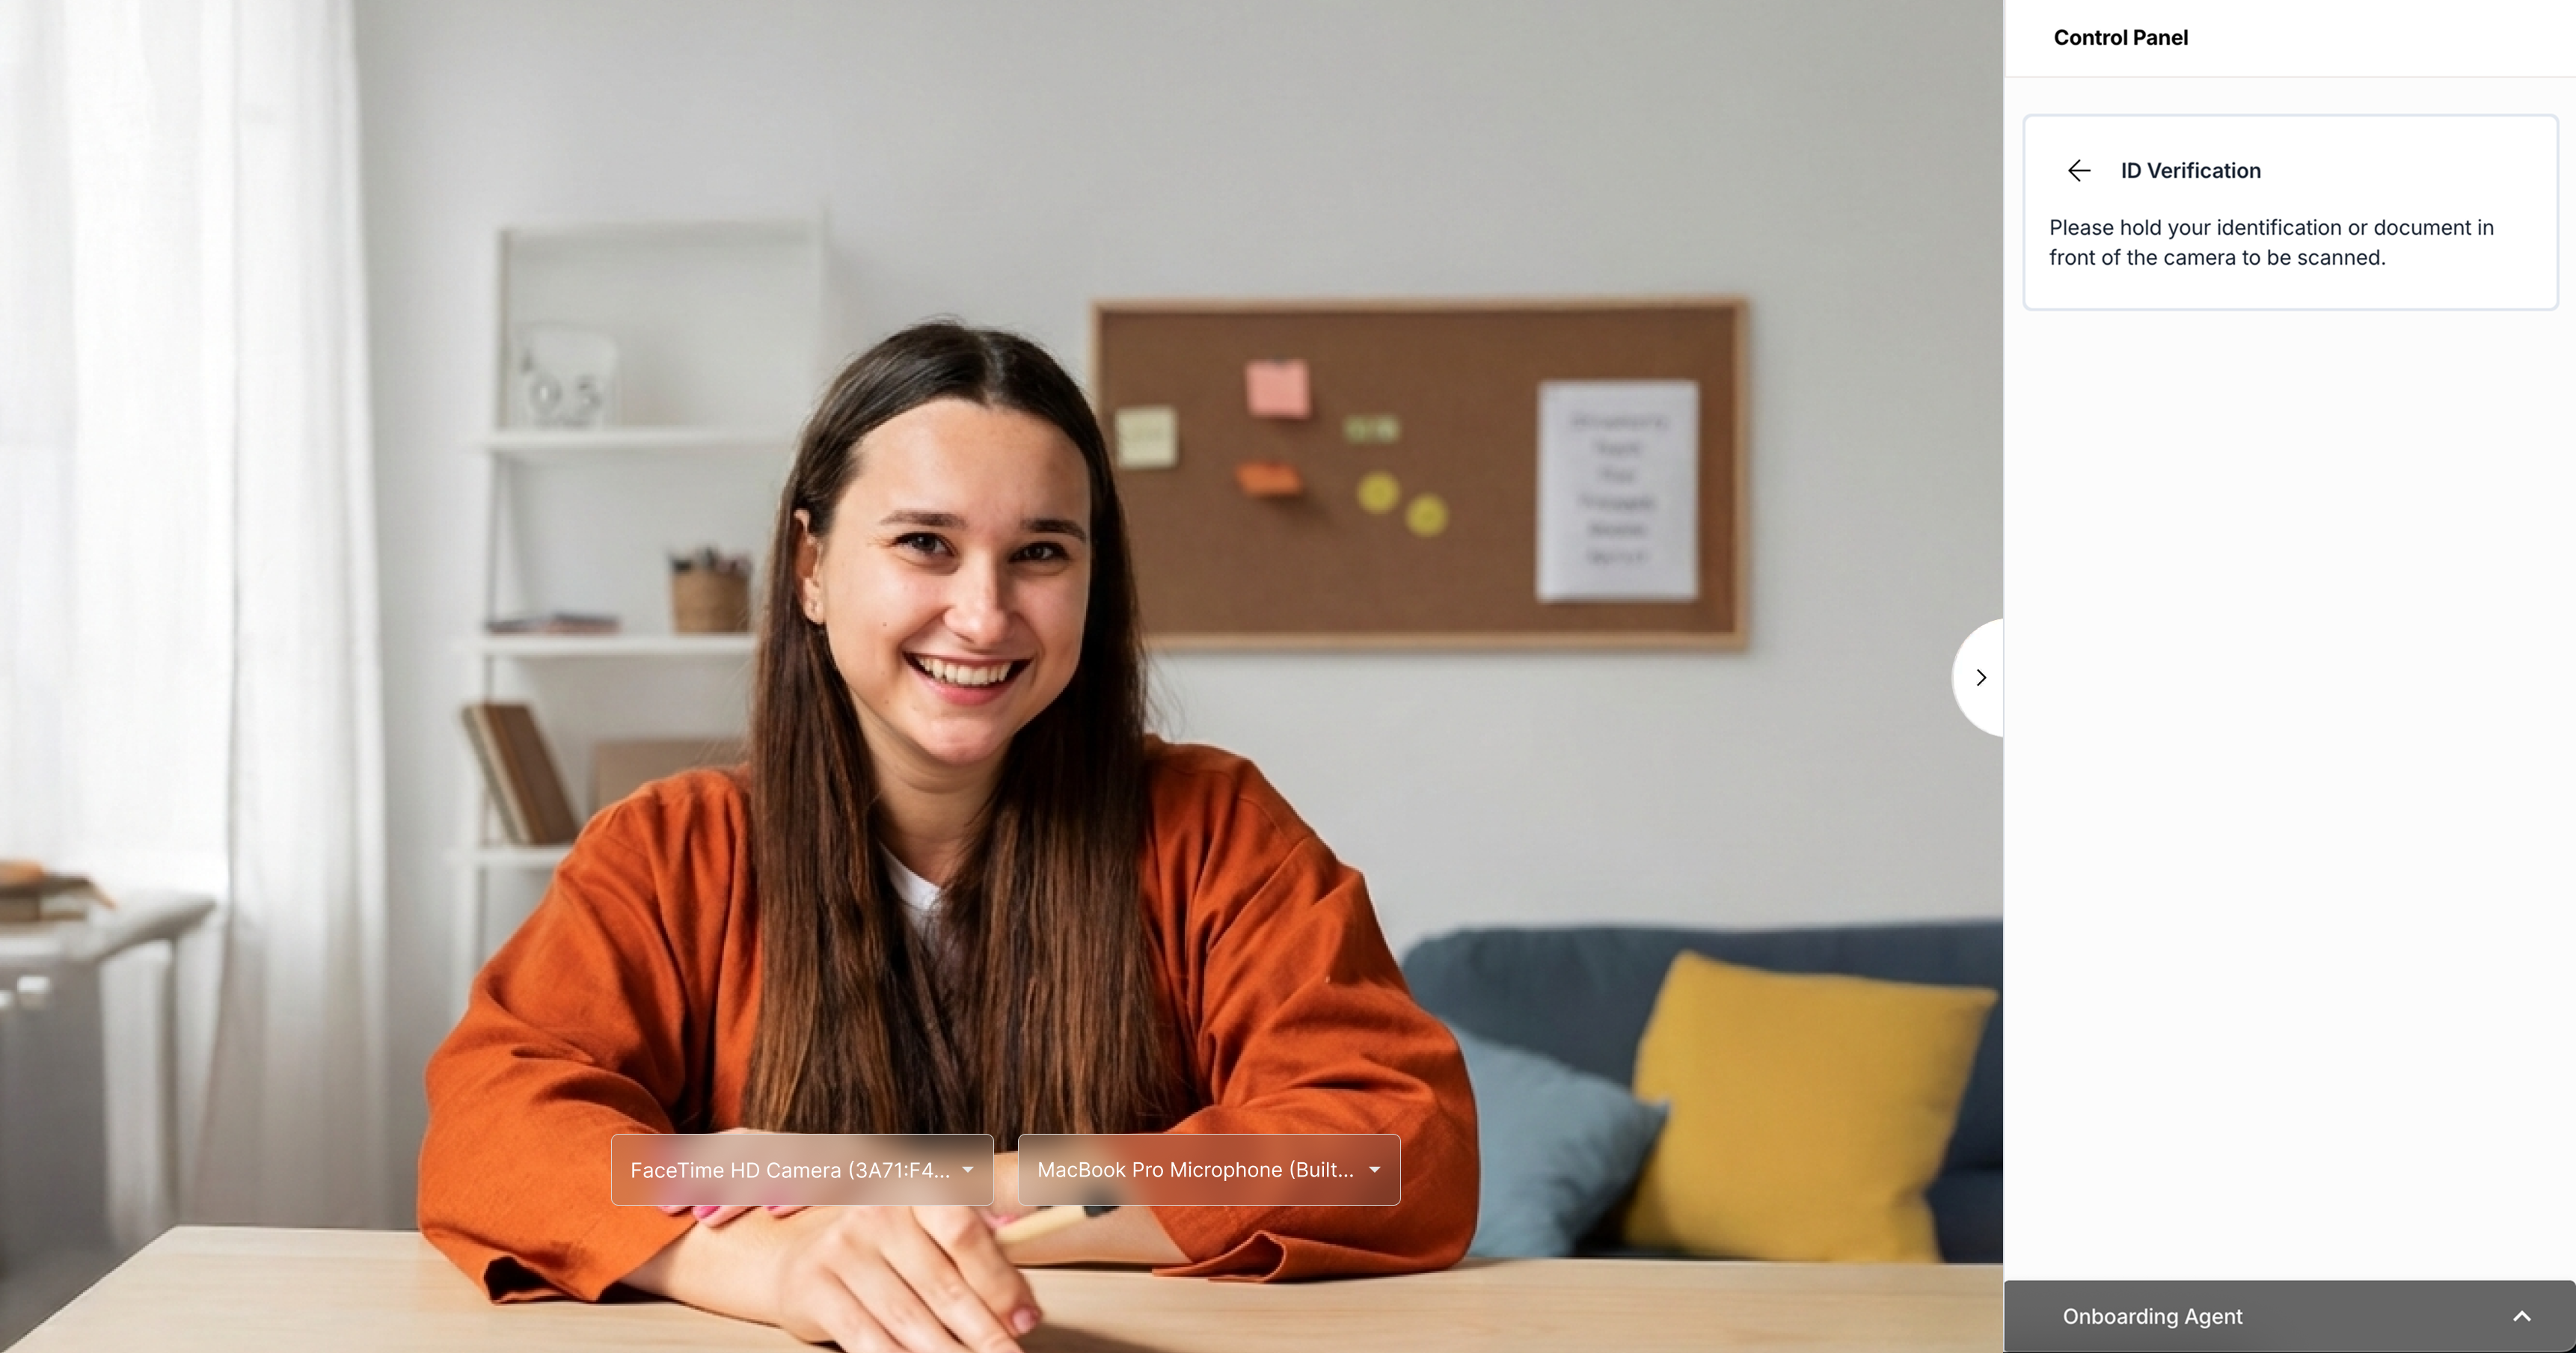
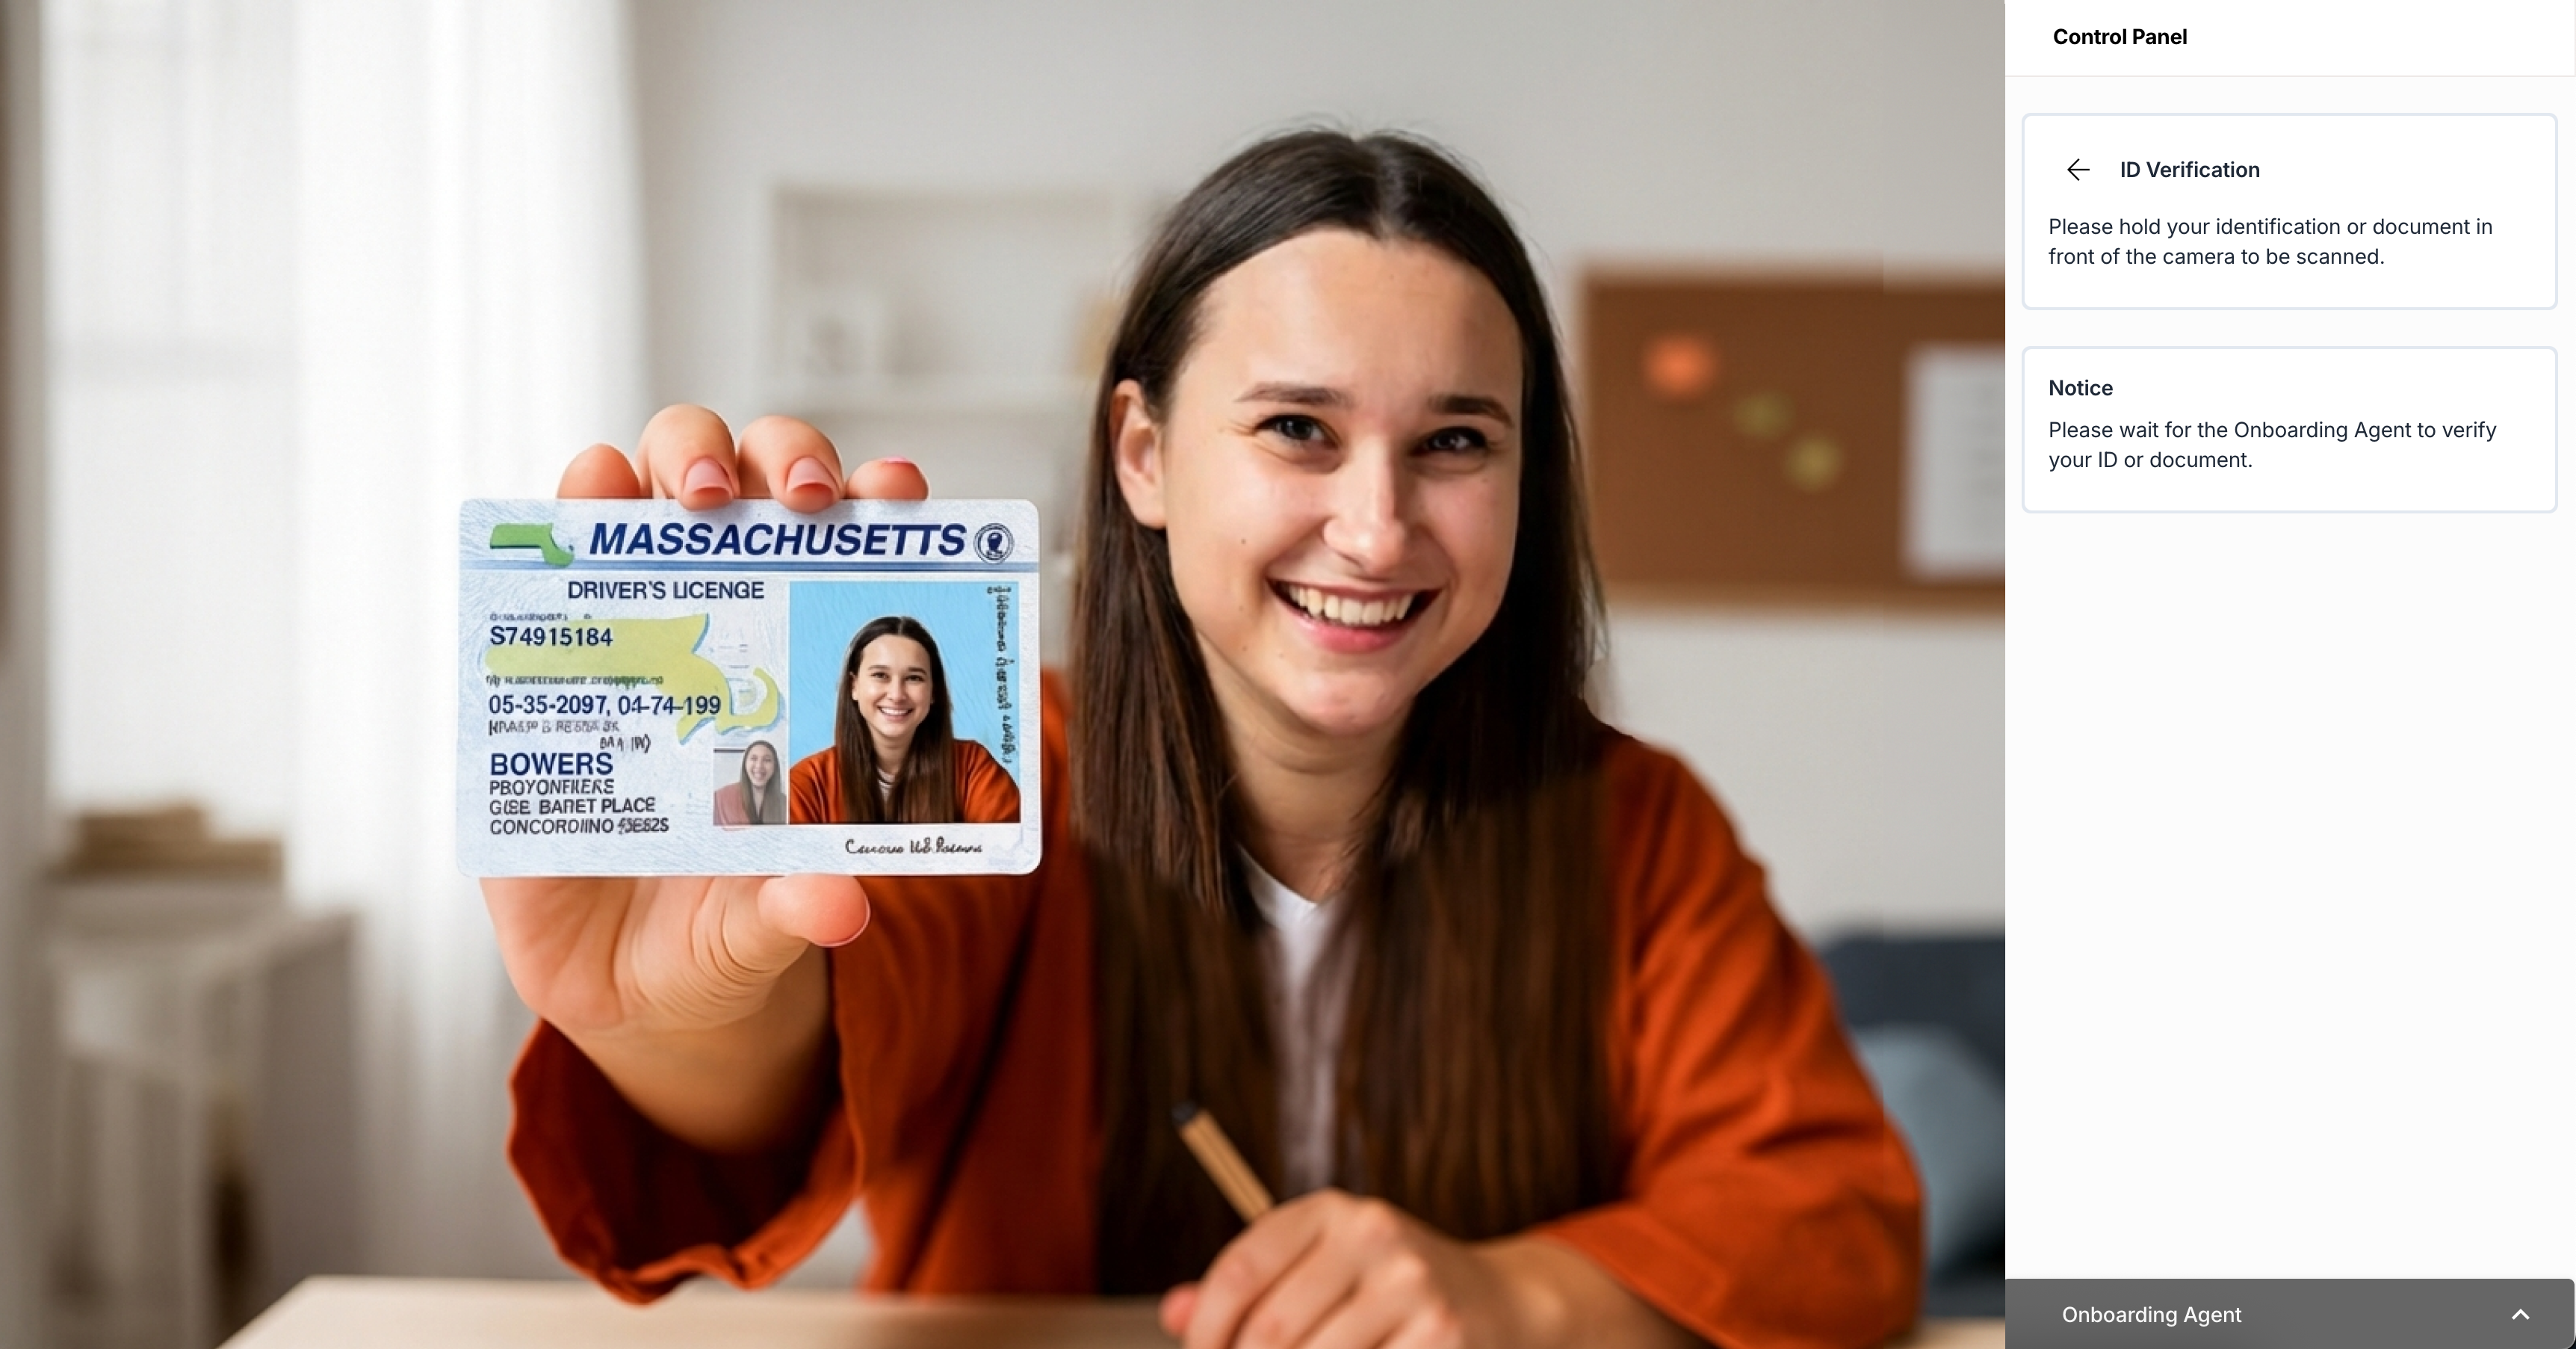
Your ID verification has started.
Hold your photo ID in front of the camera and wait until the OBA verifies it.
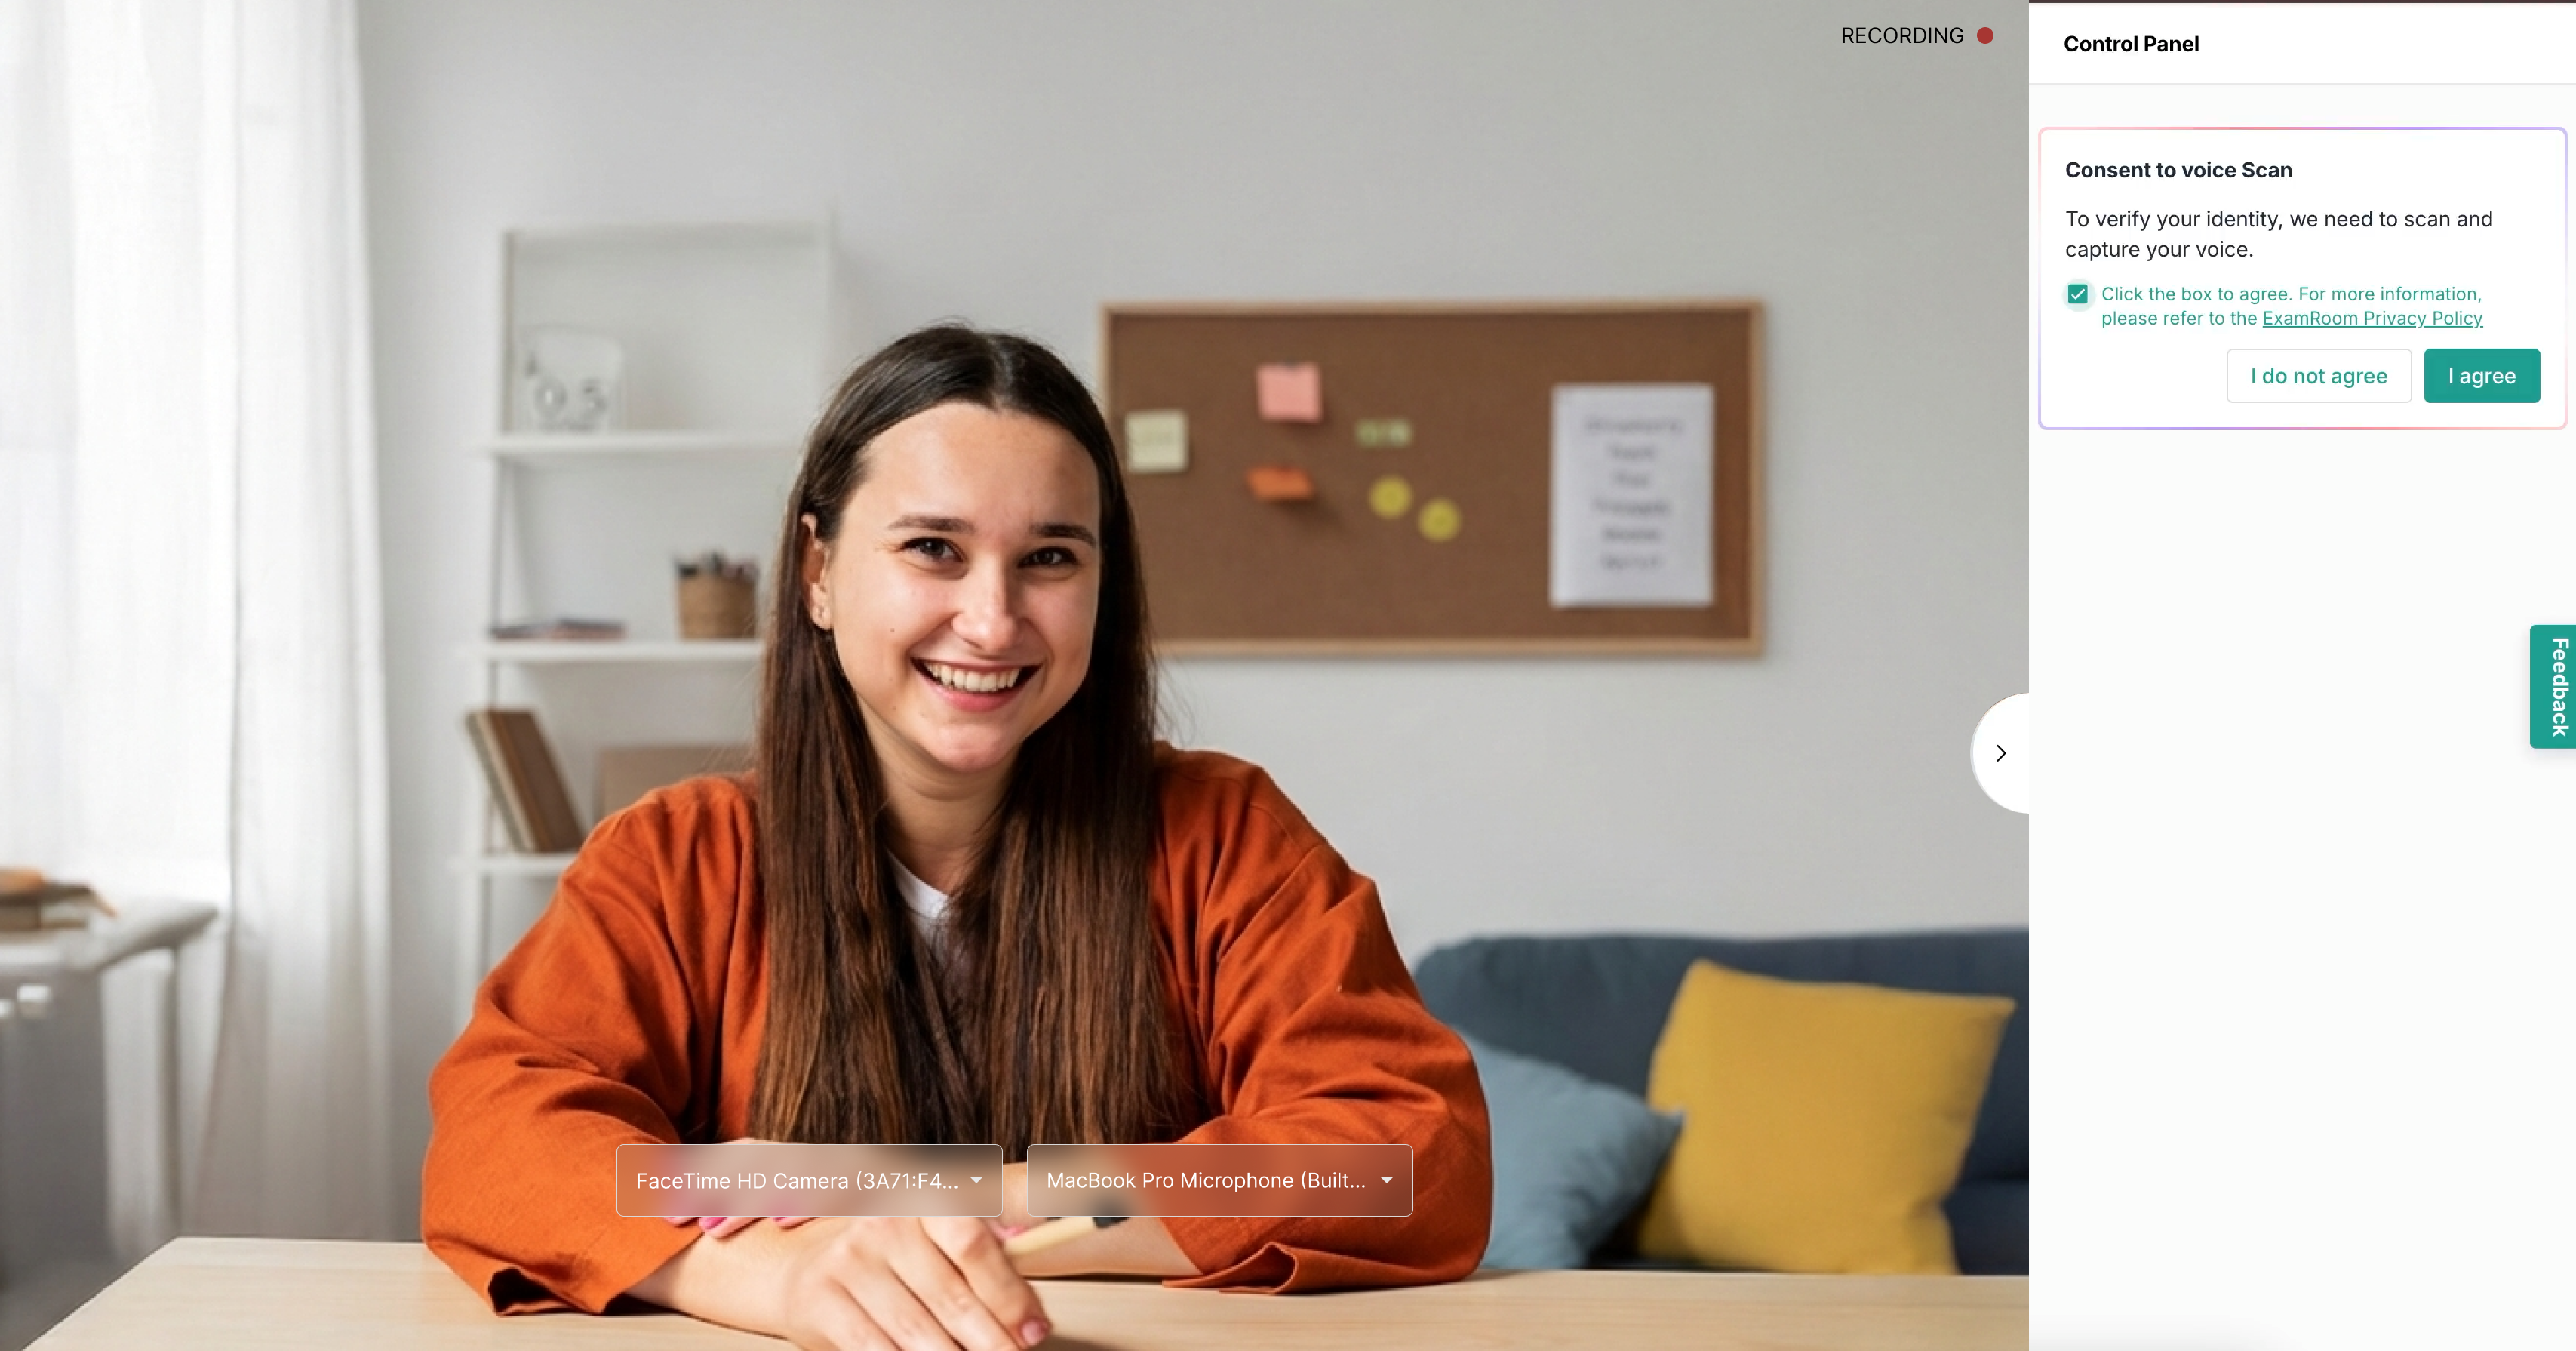
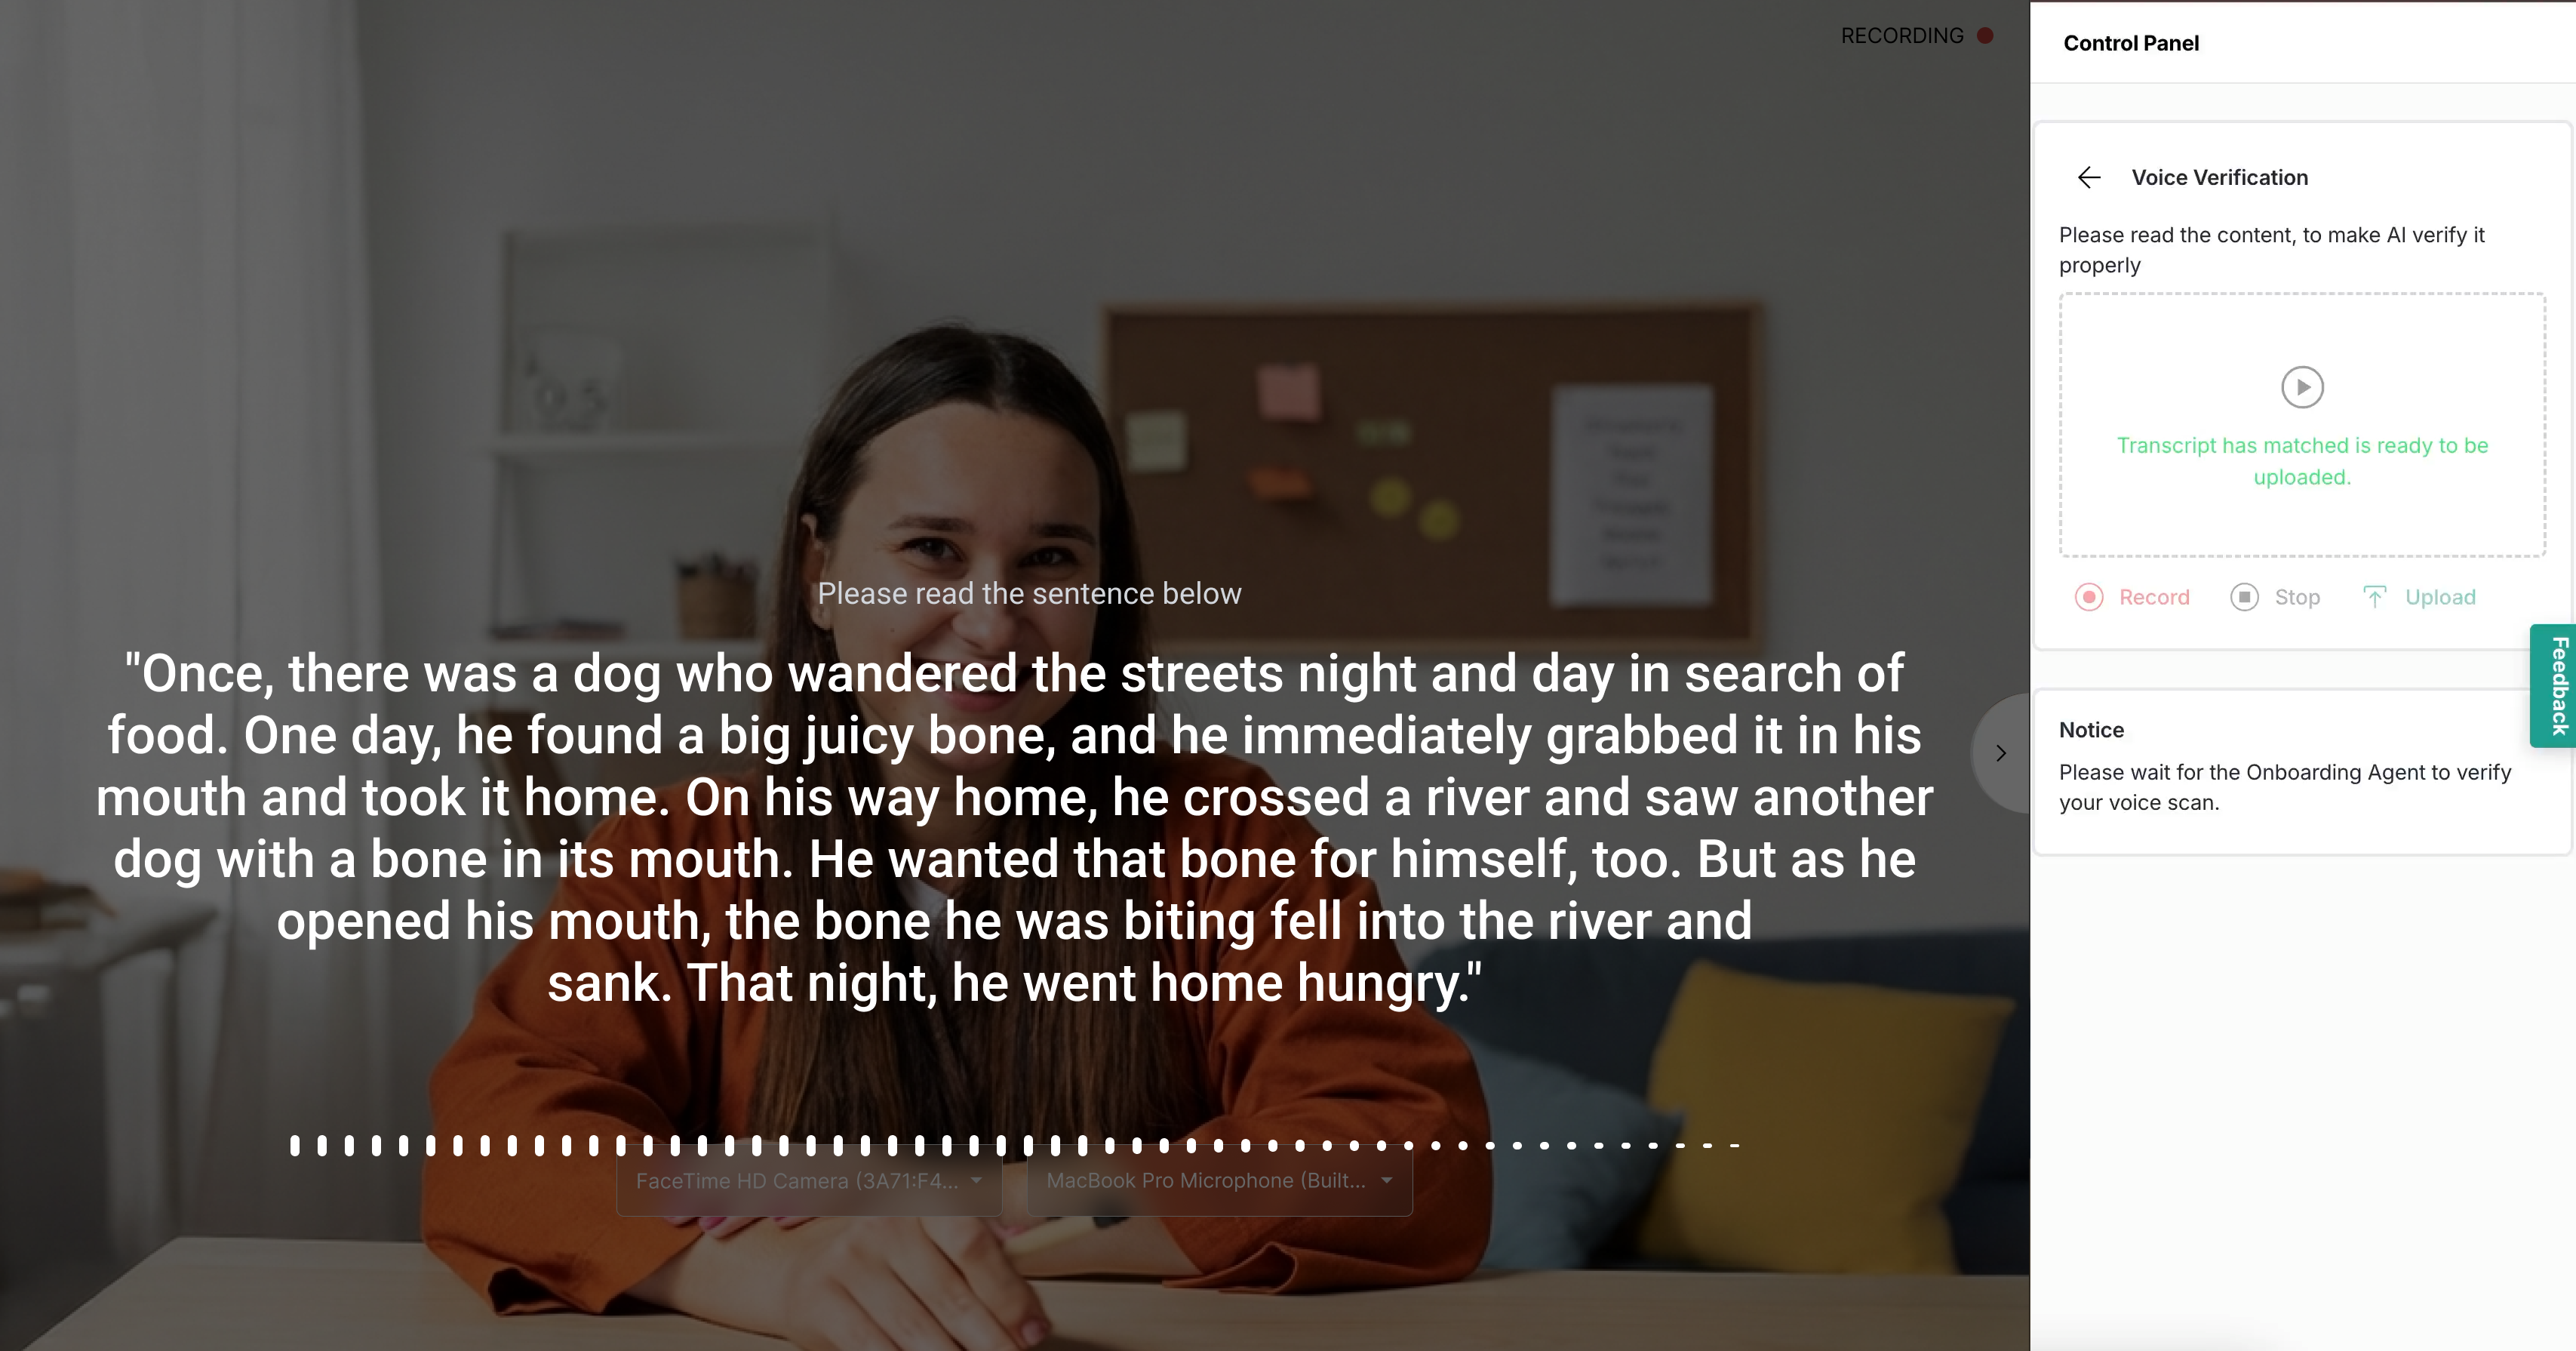
Select the checkbox and click I agree to provide consent for verifying your voice.
Note: options shown may not apply to your exam.
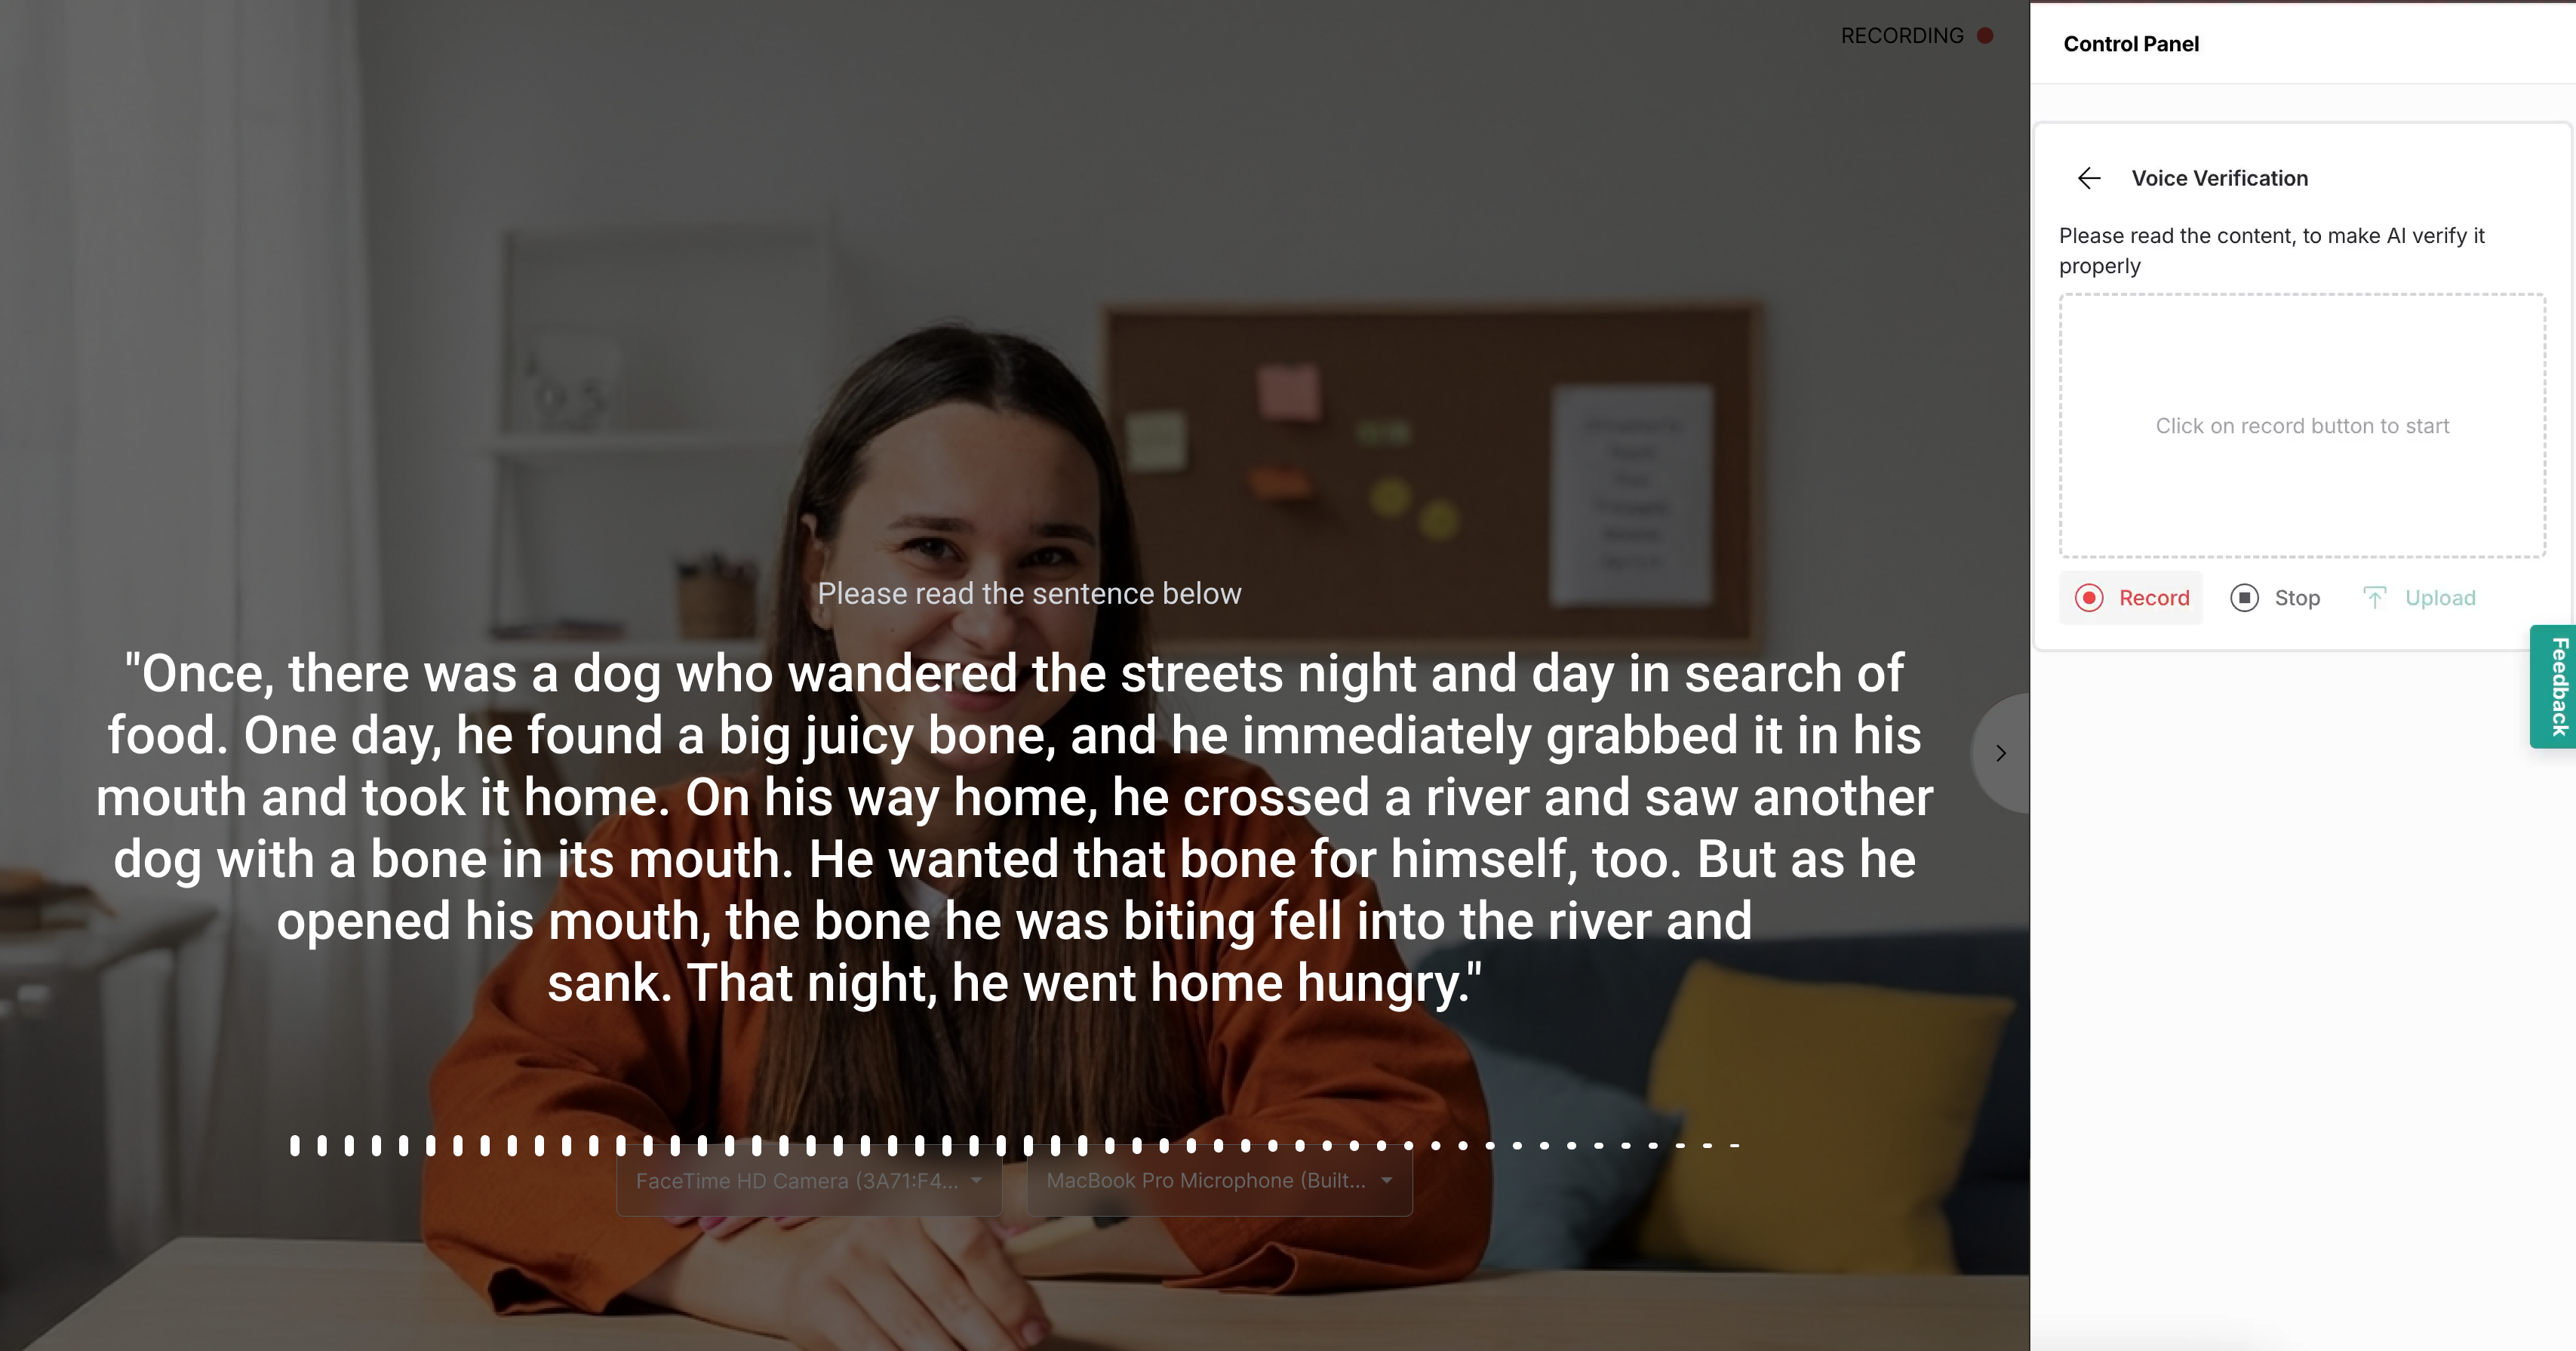
Click Record and read aloud the displayed sentences. Click Stop after reading the transcript.
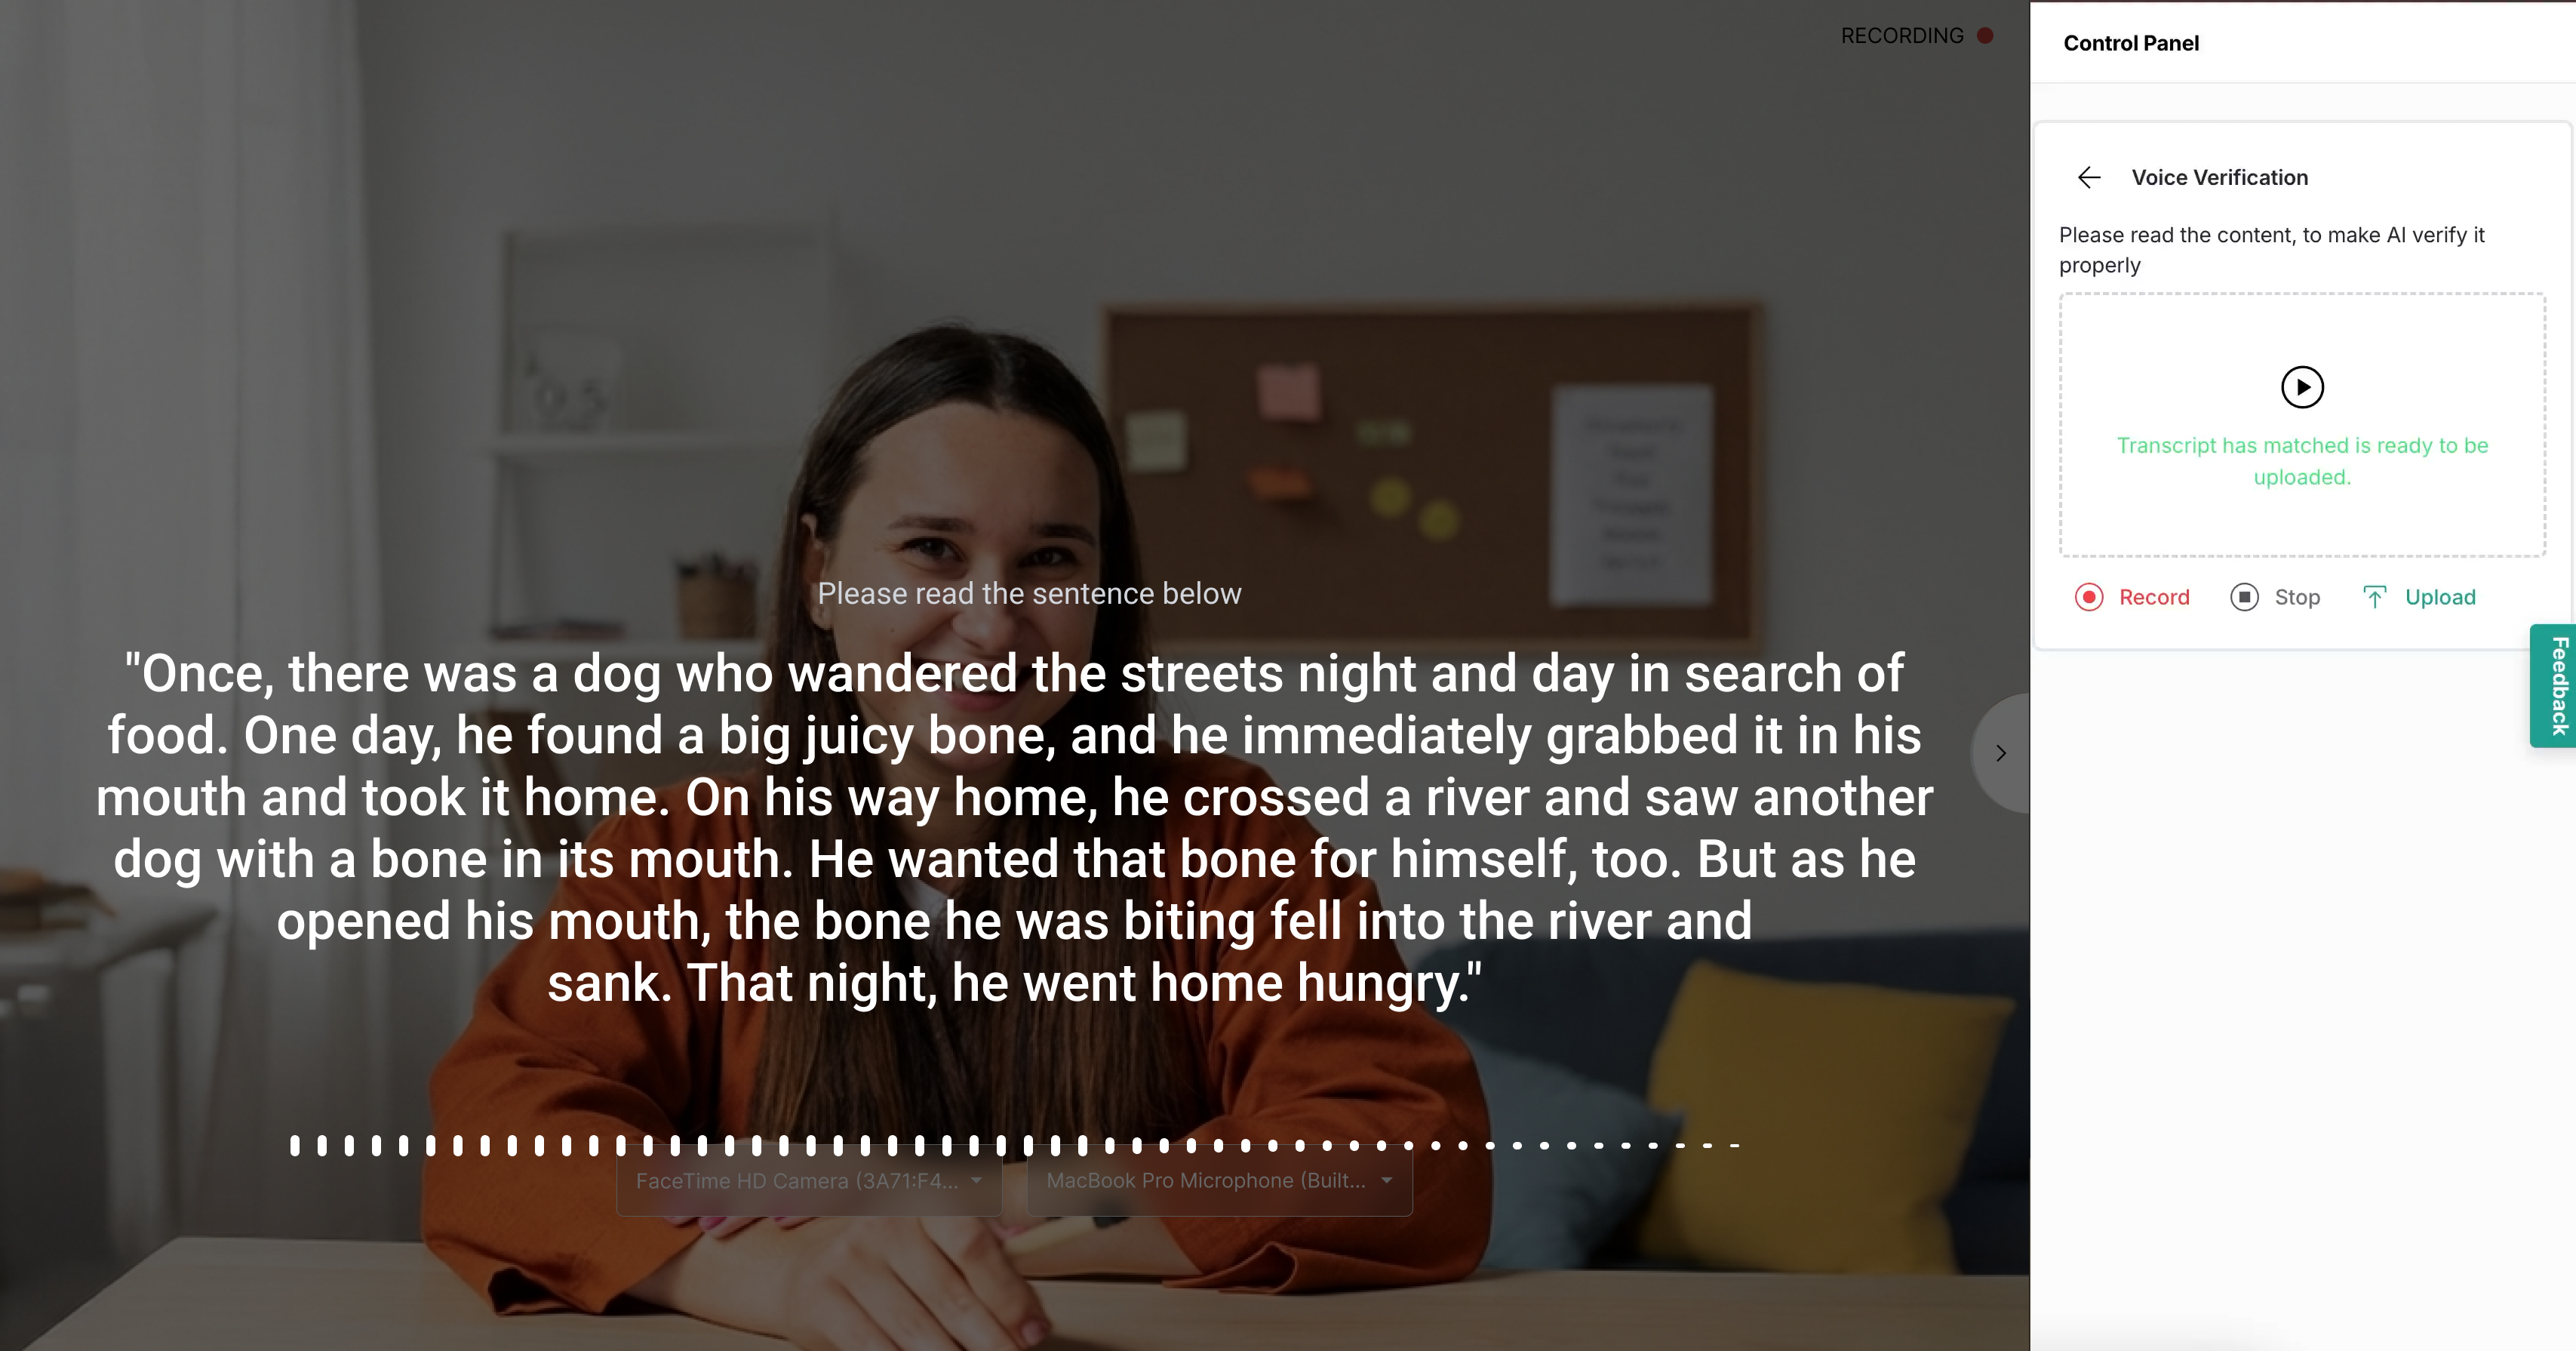
Once the transcript matches, the Upload button will be activated. Click Upload to submit your voice scan. The OBA will then verify and approve it.
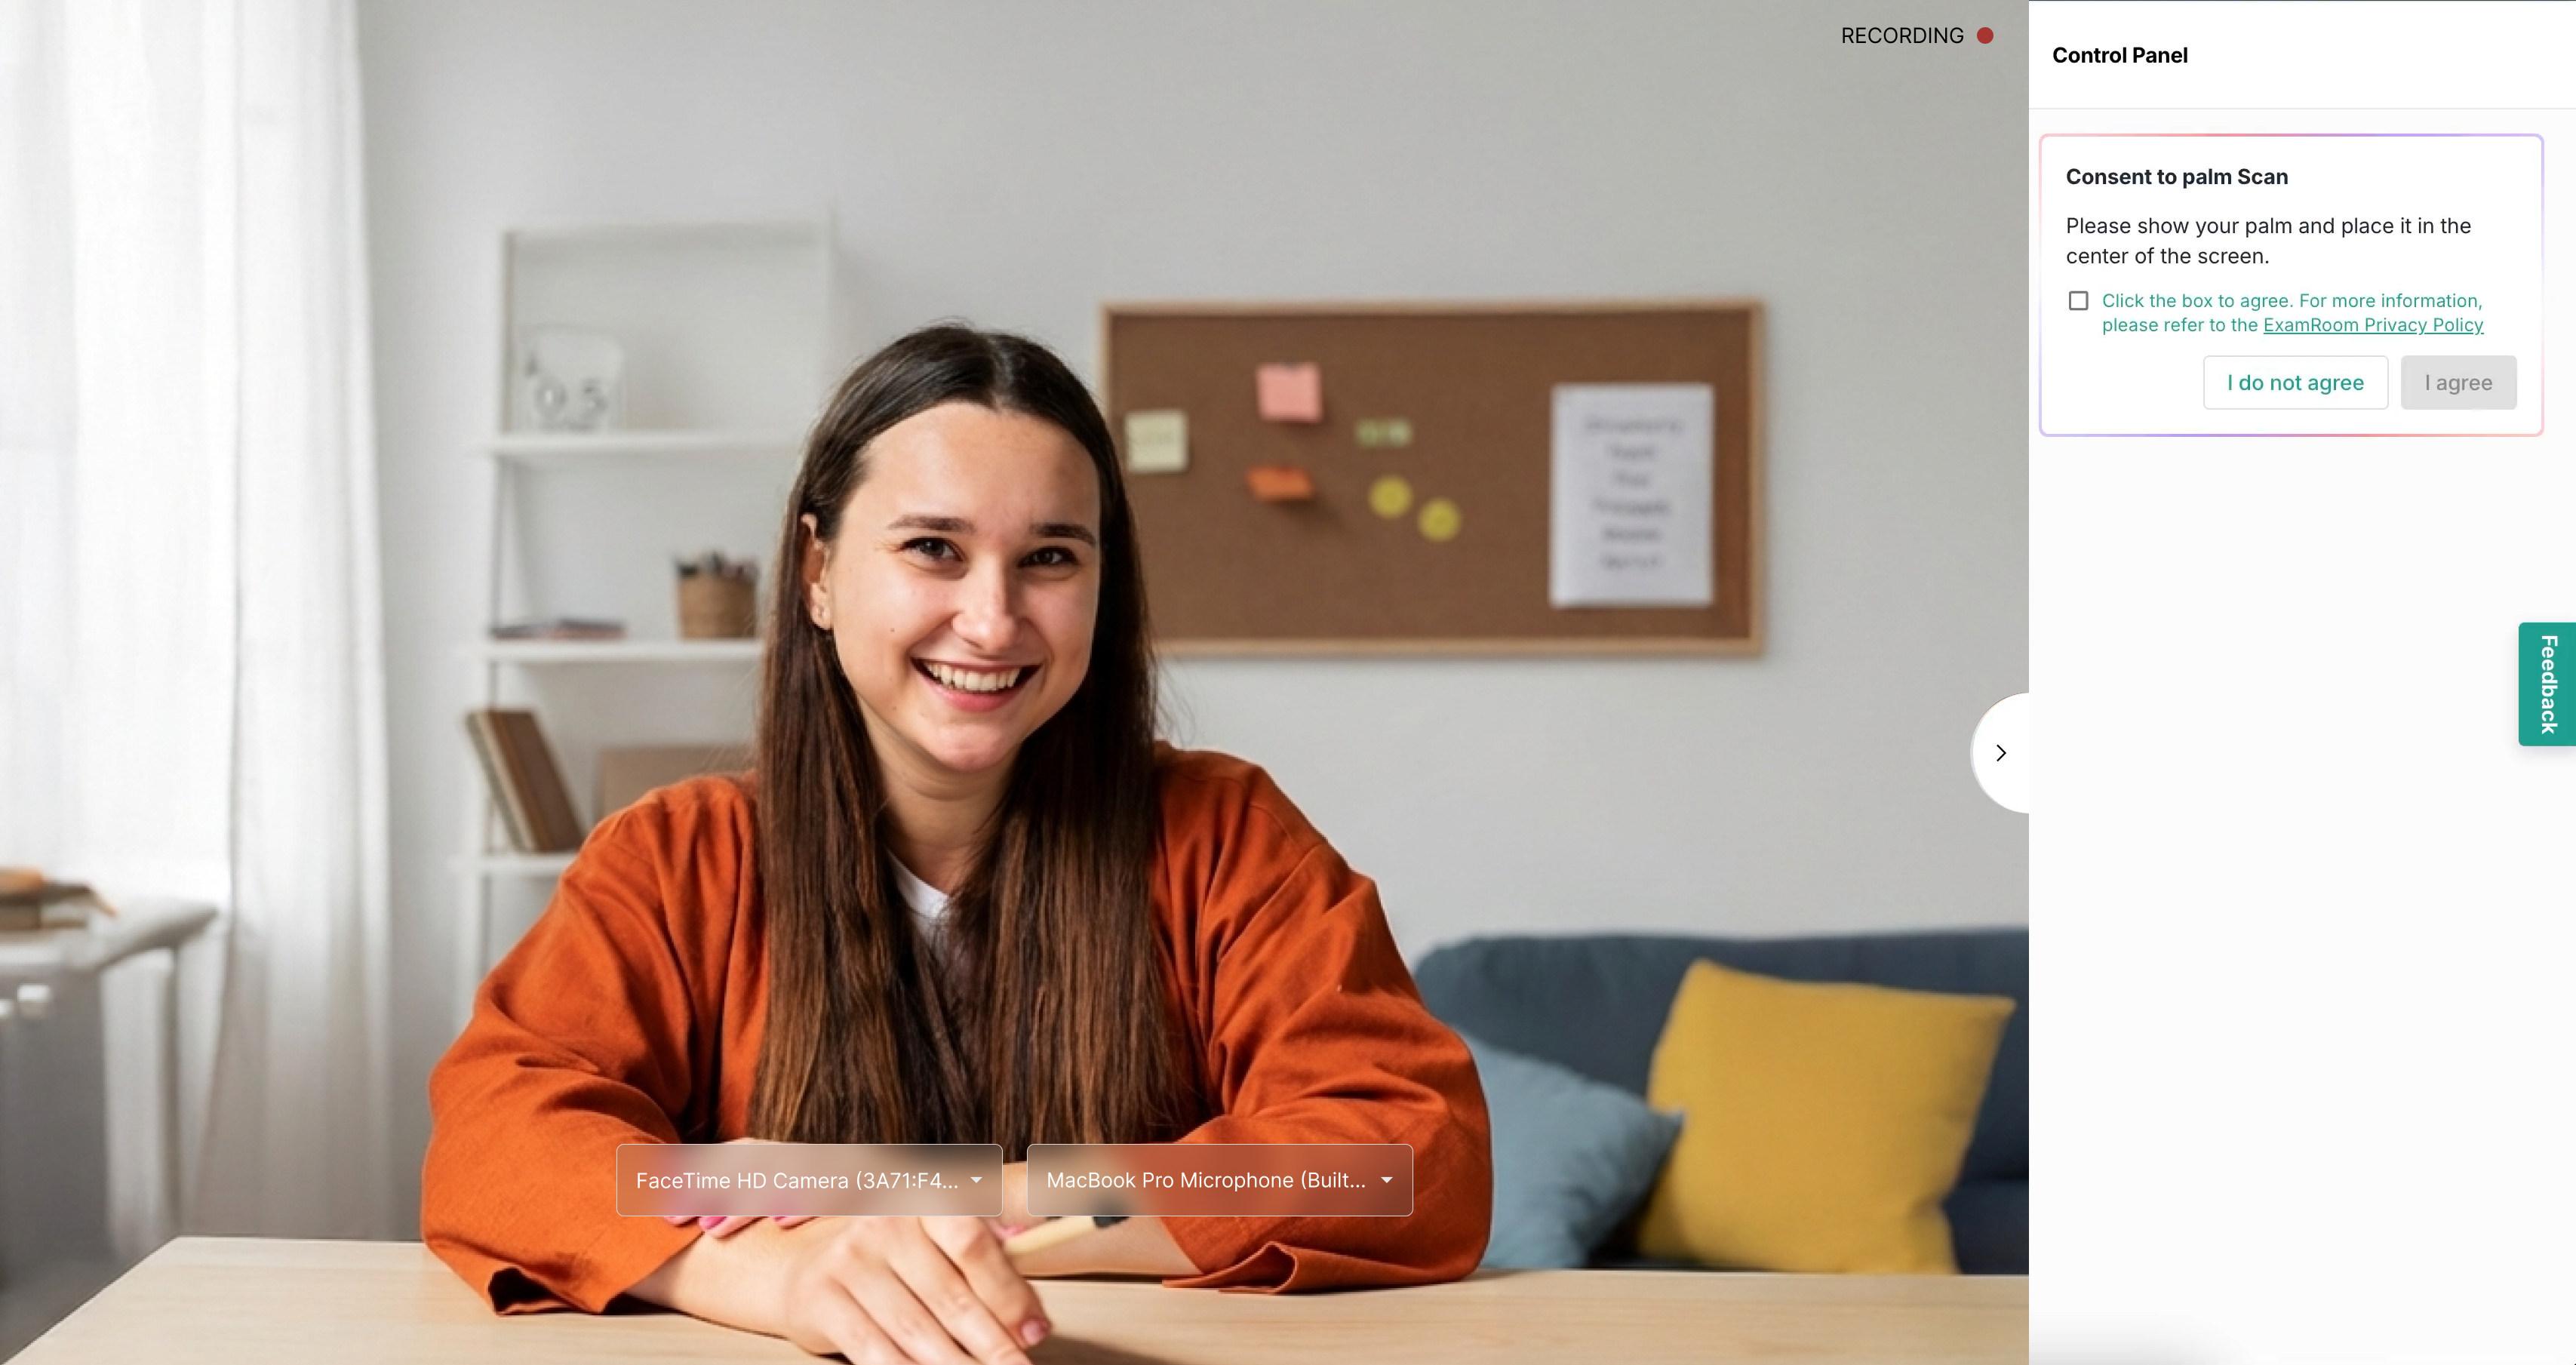
A consent message will be displayed in the control panel to provide consent for your palm verification.
Select the checkbox and click Iagree to provide consent for verifying your palm.
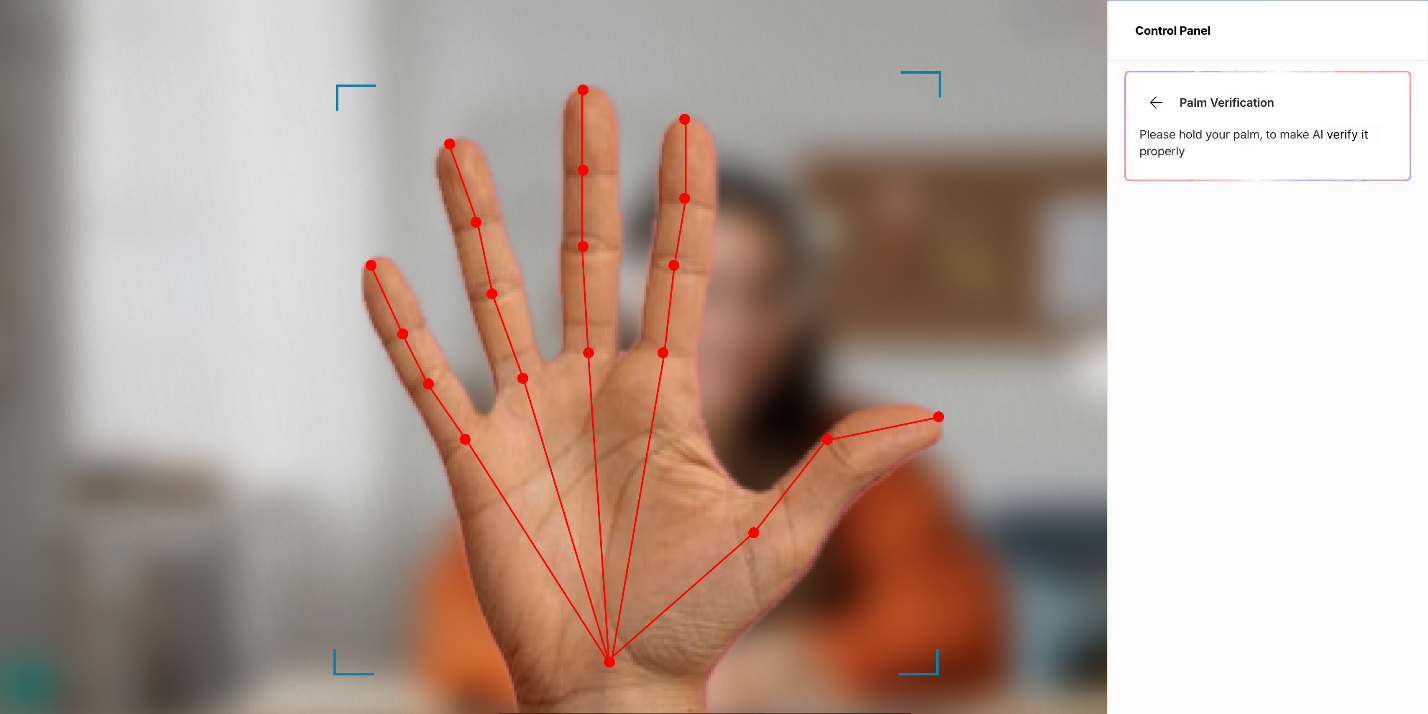
Note: options shown may not apply to your exam.
Hold your palm up to the camera. Once detected, the OBA will verify it against your registered palm.
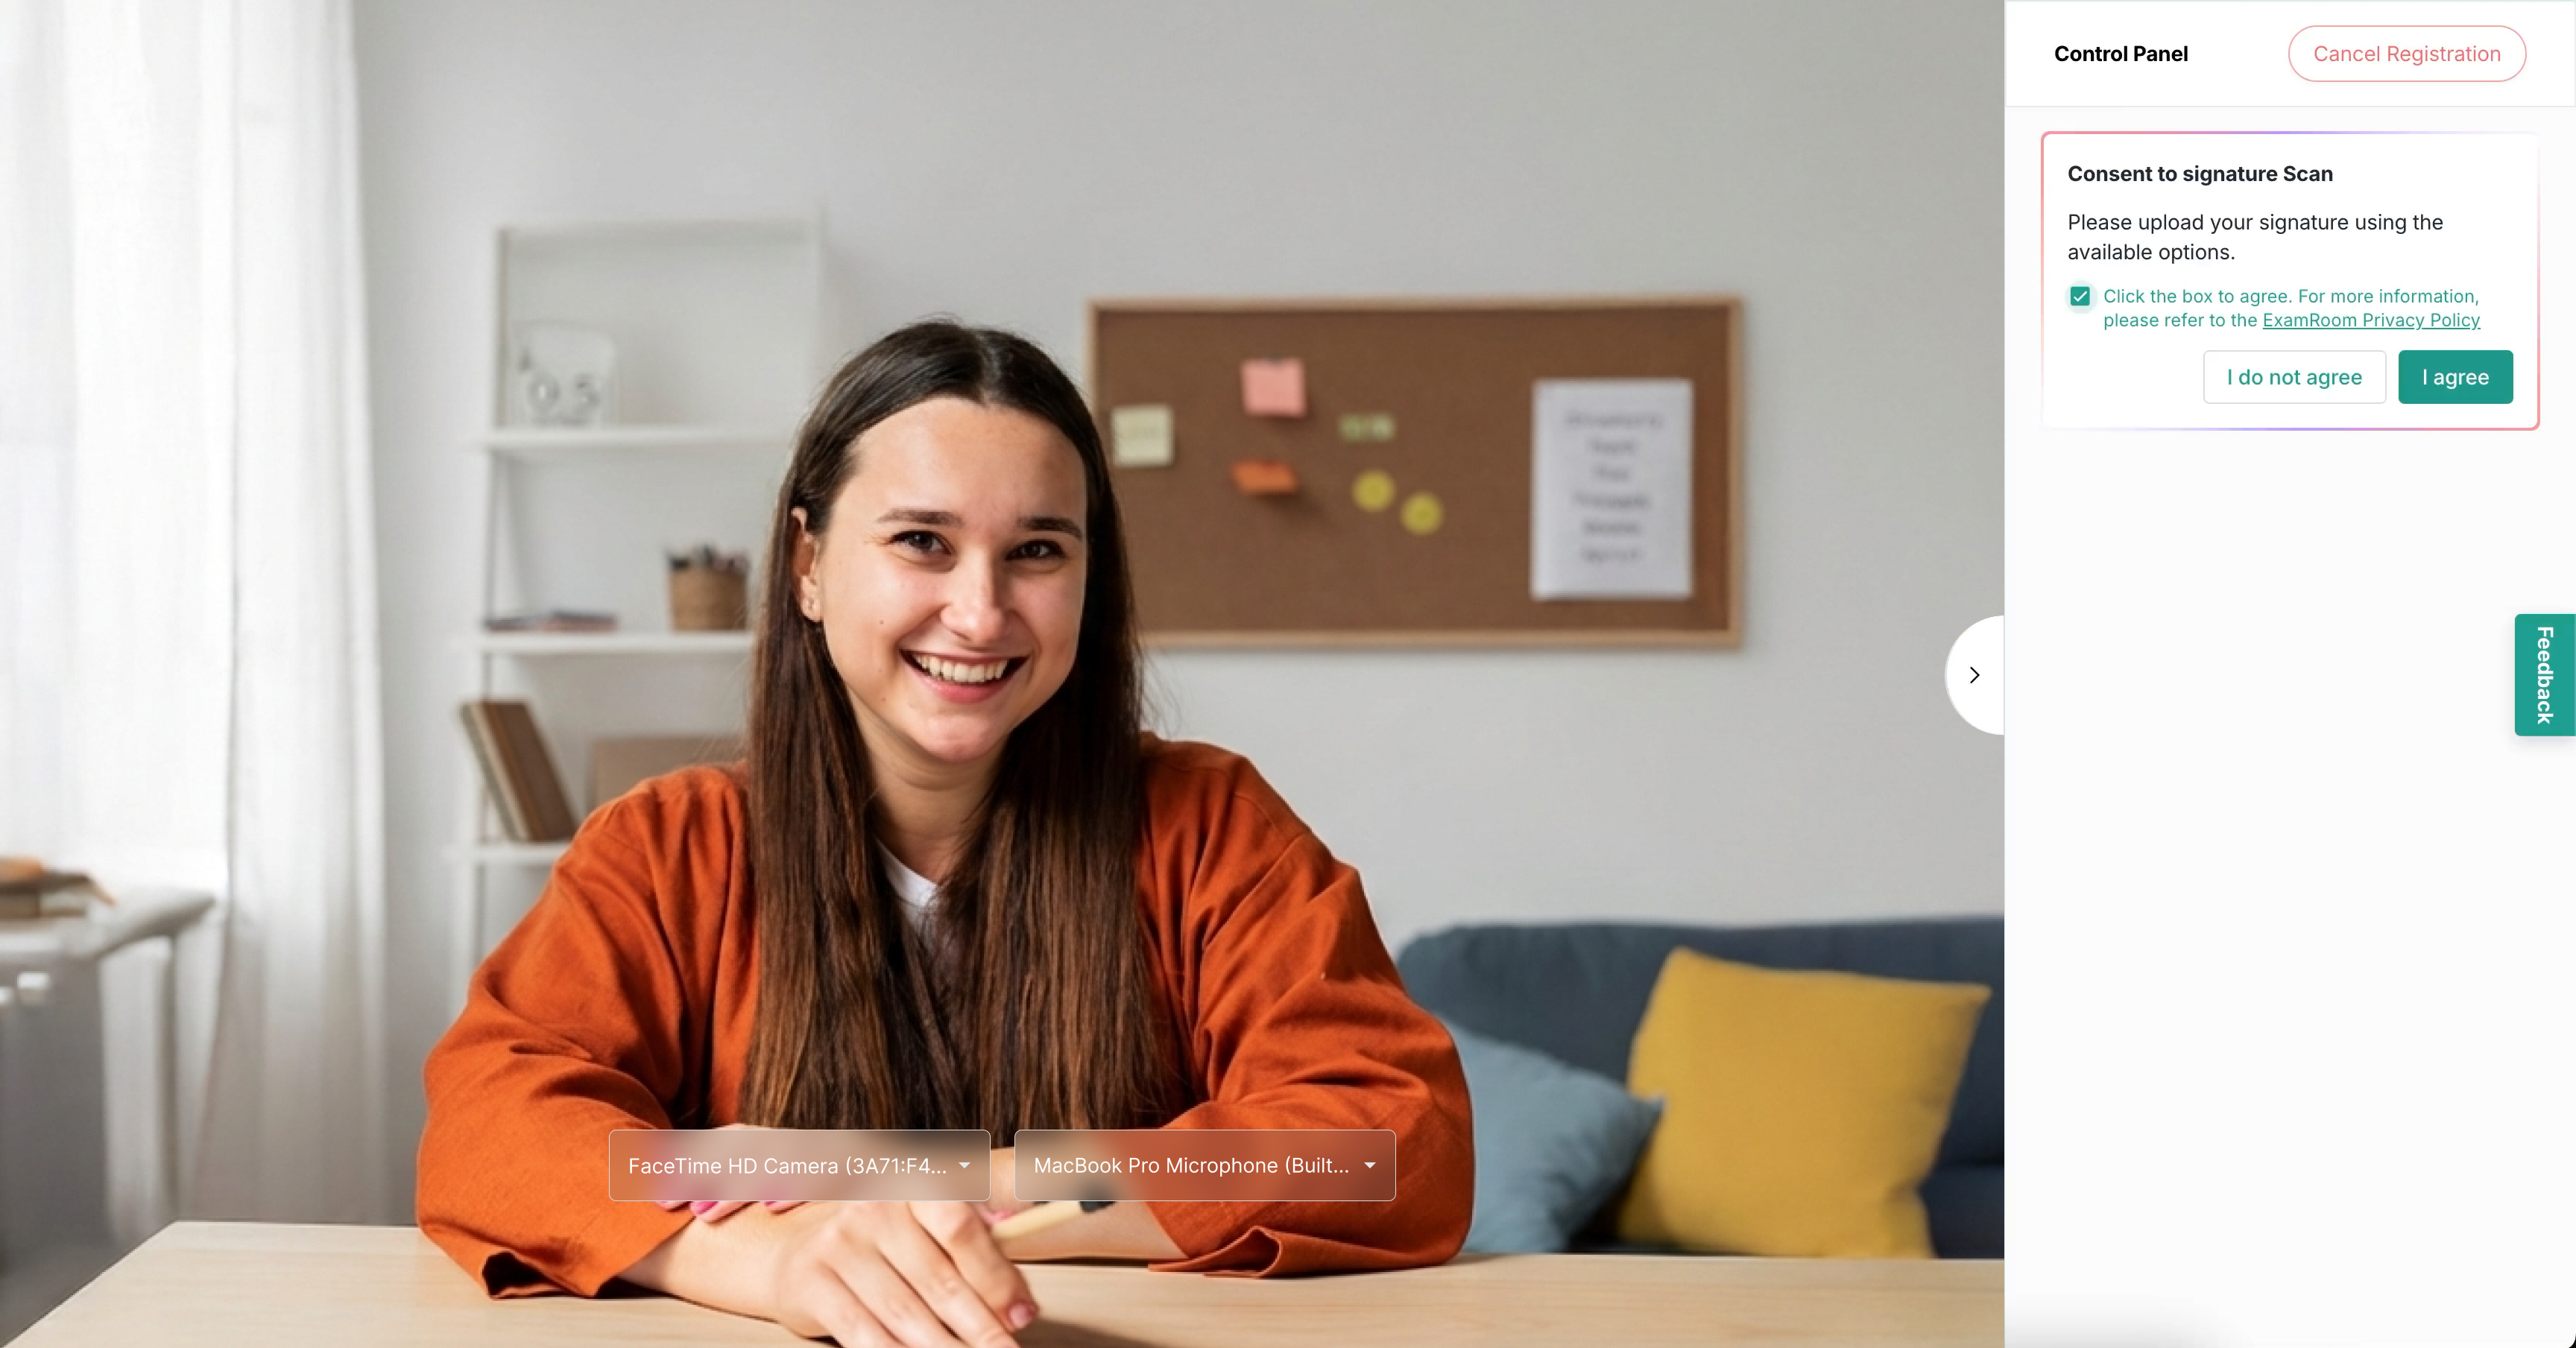
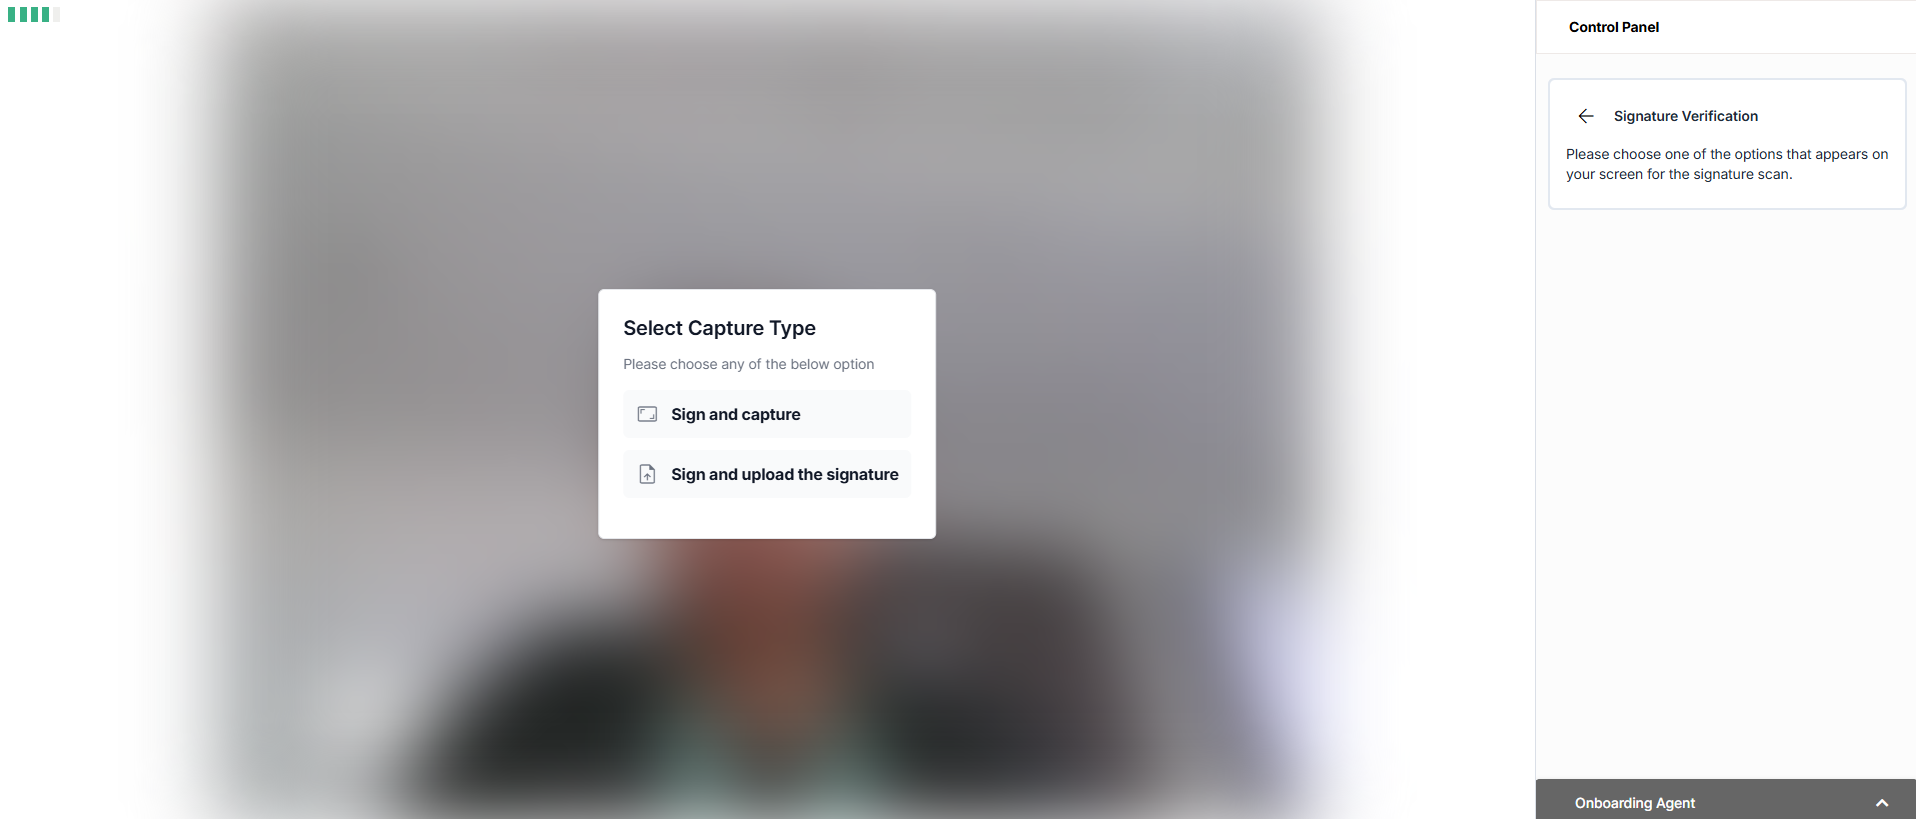
A consent message will be displayed in the control panel to provide consent for your signature verification.
Select the checkbox and click Iagree to provide consent for verifying your signature.
Note: options shown may not apply to your exam.
There are two ways to verify your signature.
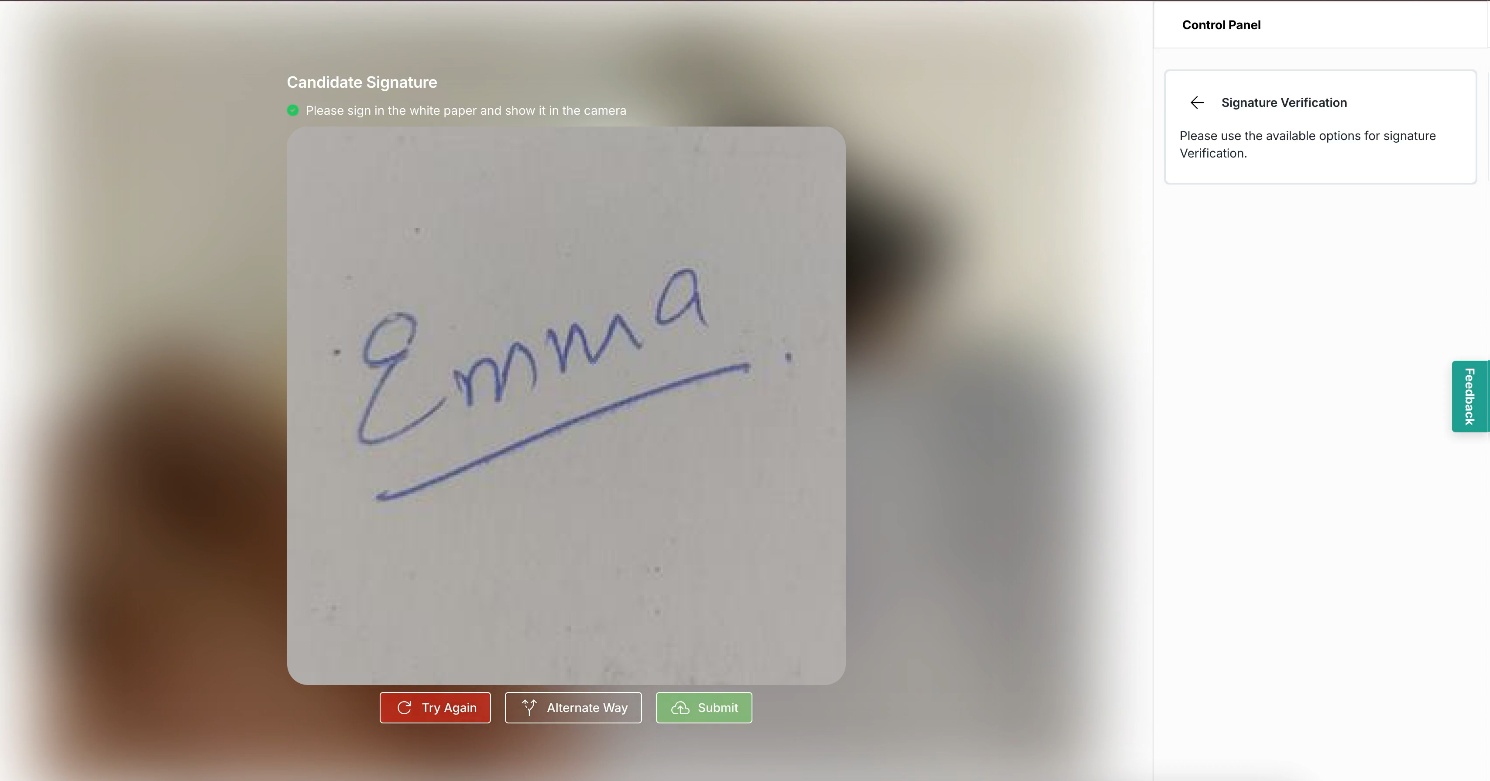
Option1: SignandCapture. Once you select this option, sign a piece of paper and show it to the camera.
Wait while the OBA verifies your signature. If it’s not satisfactory, click TryAgain. You can also choose another option by clicking AlternateWay on the screen.
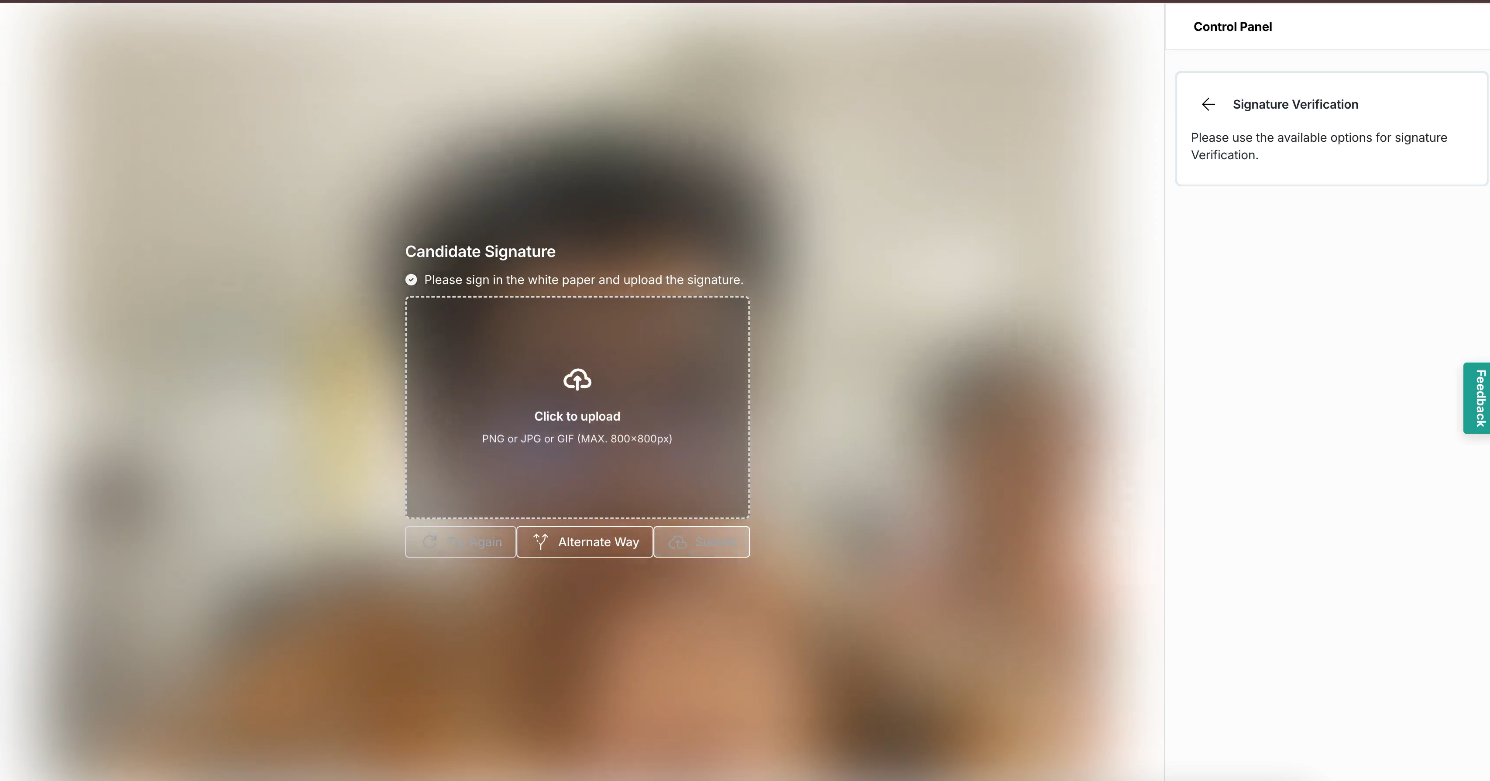
Option2: Signanduploadthesignature, sign on white paper, and upload it. The acceptable file descriptions are mentioned on the screen.
Once you upload the signature, wait for OBA to verify.
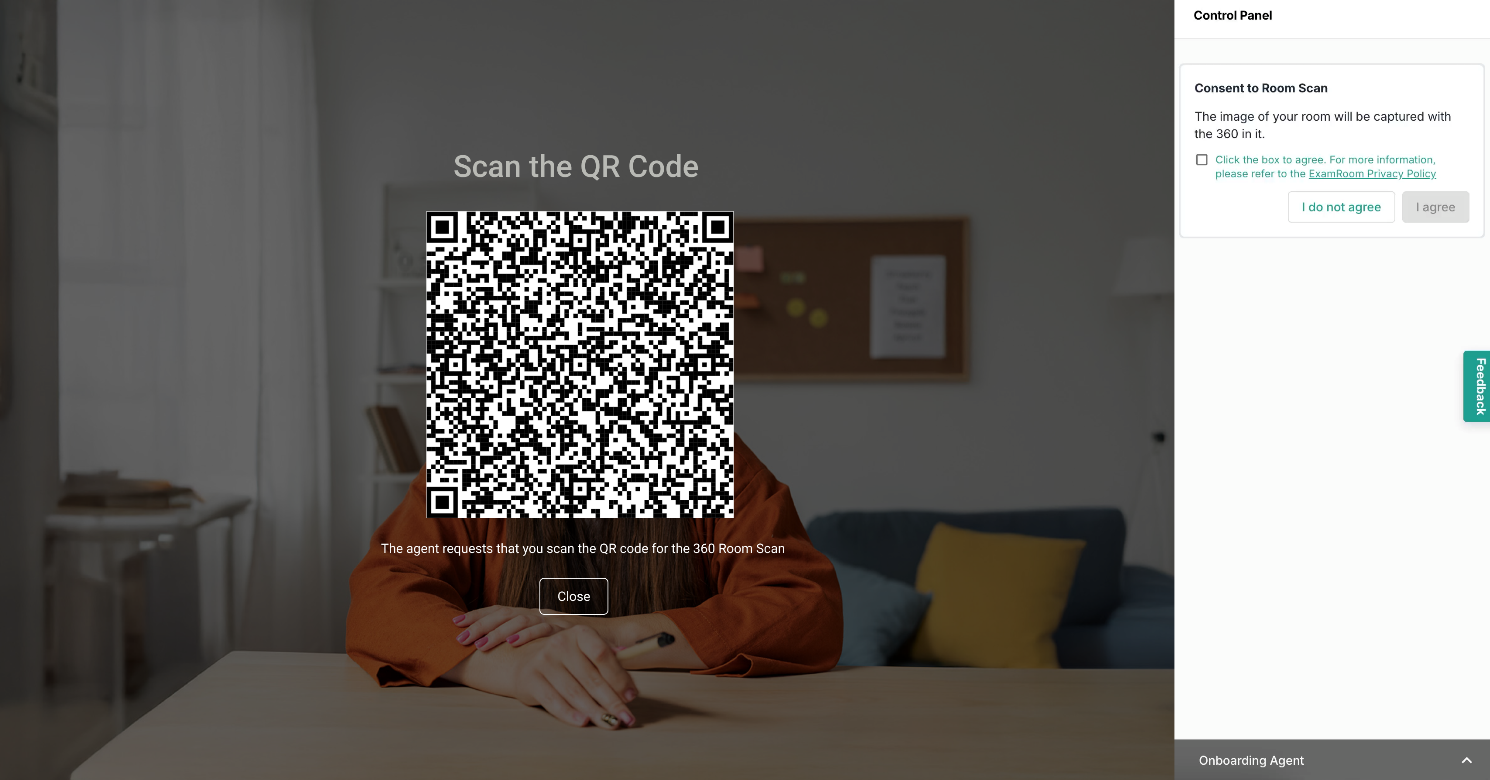
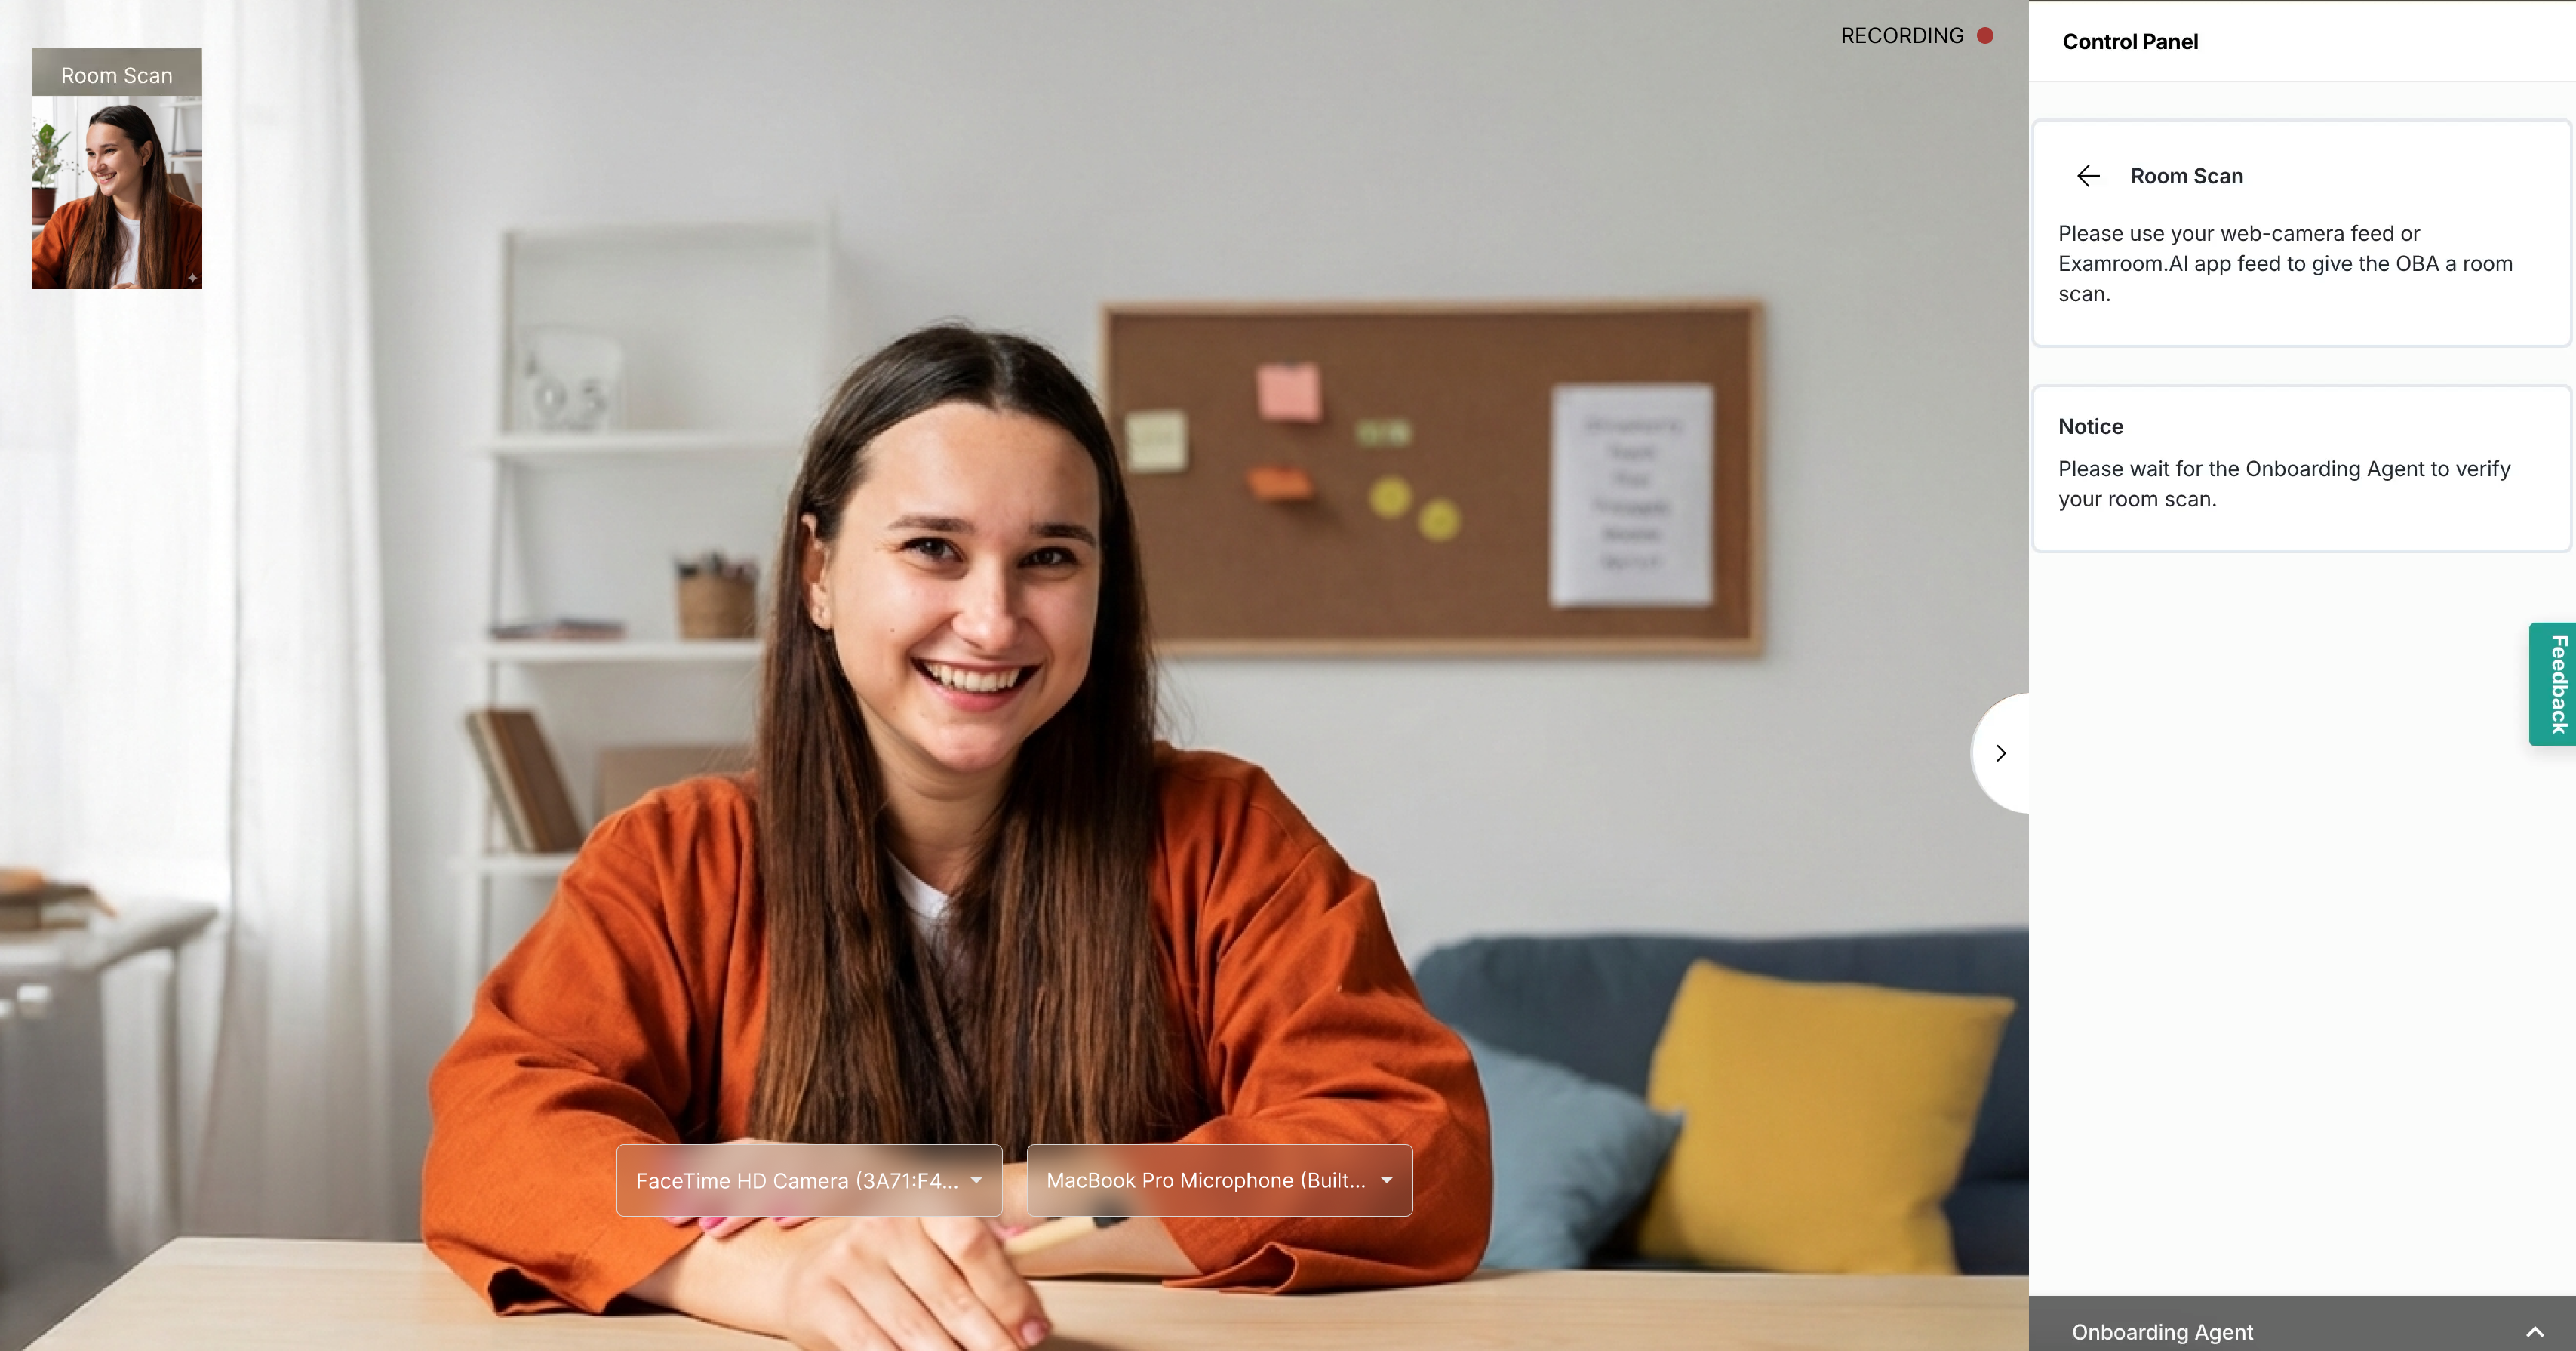
Now, to begin the process of Room Scan, the OBA triggers a QR Code display on your screen for you to scan and open the app on your phone, and place your phone as suggested by the OBA so they can see your entire testing area, including your computer.
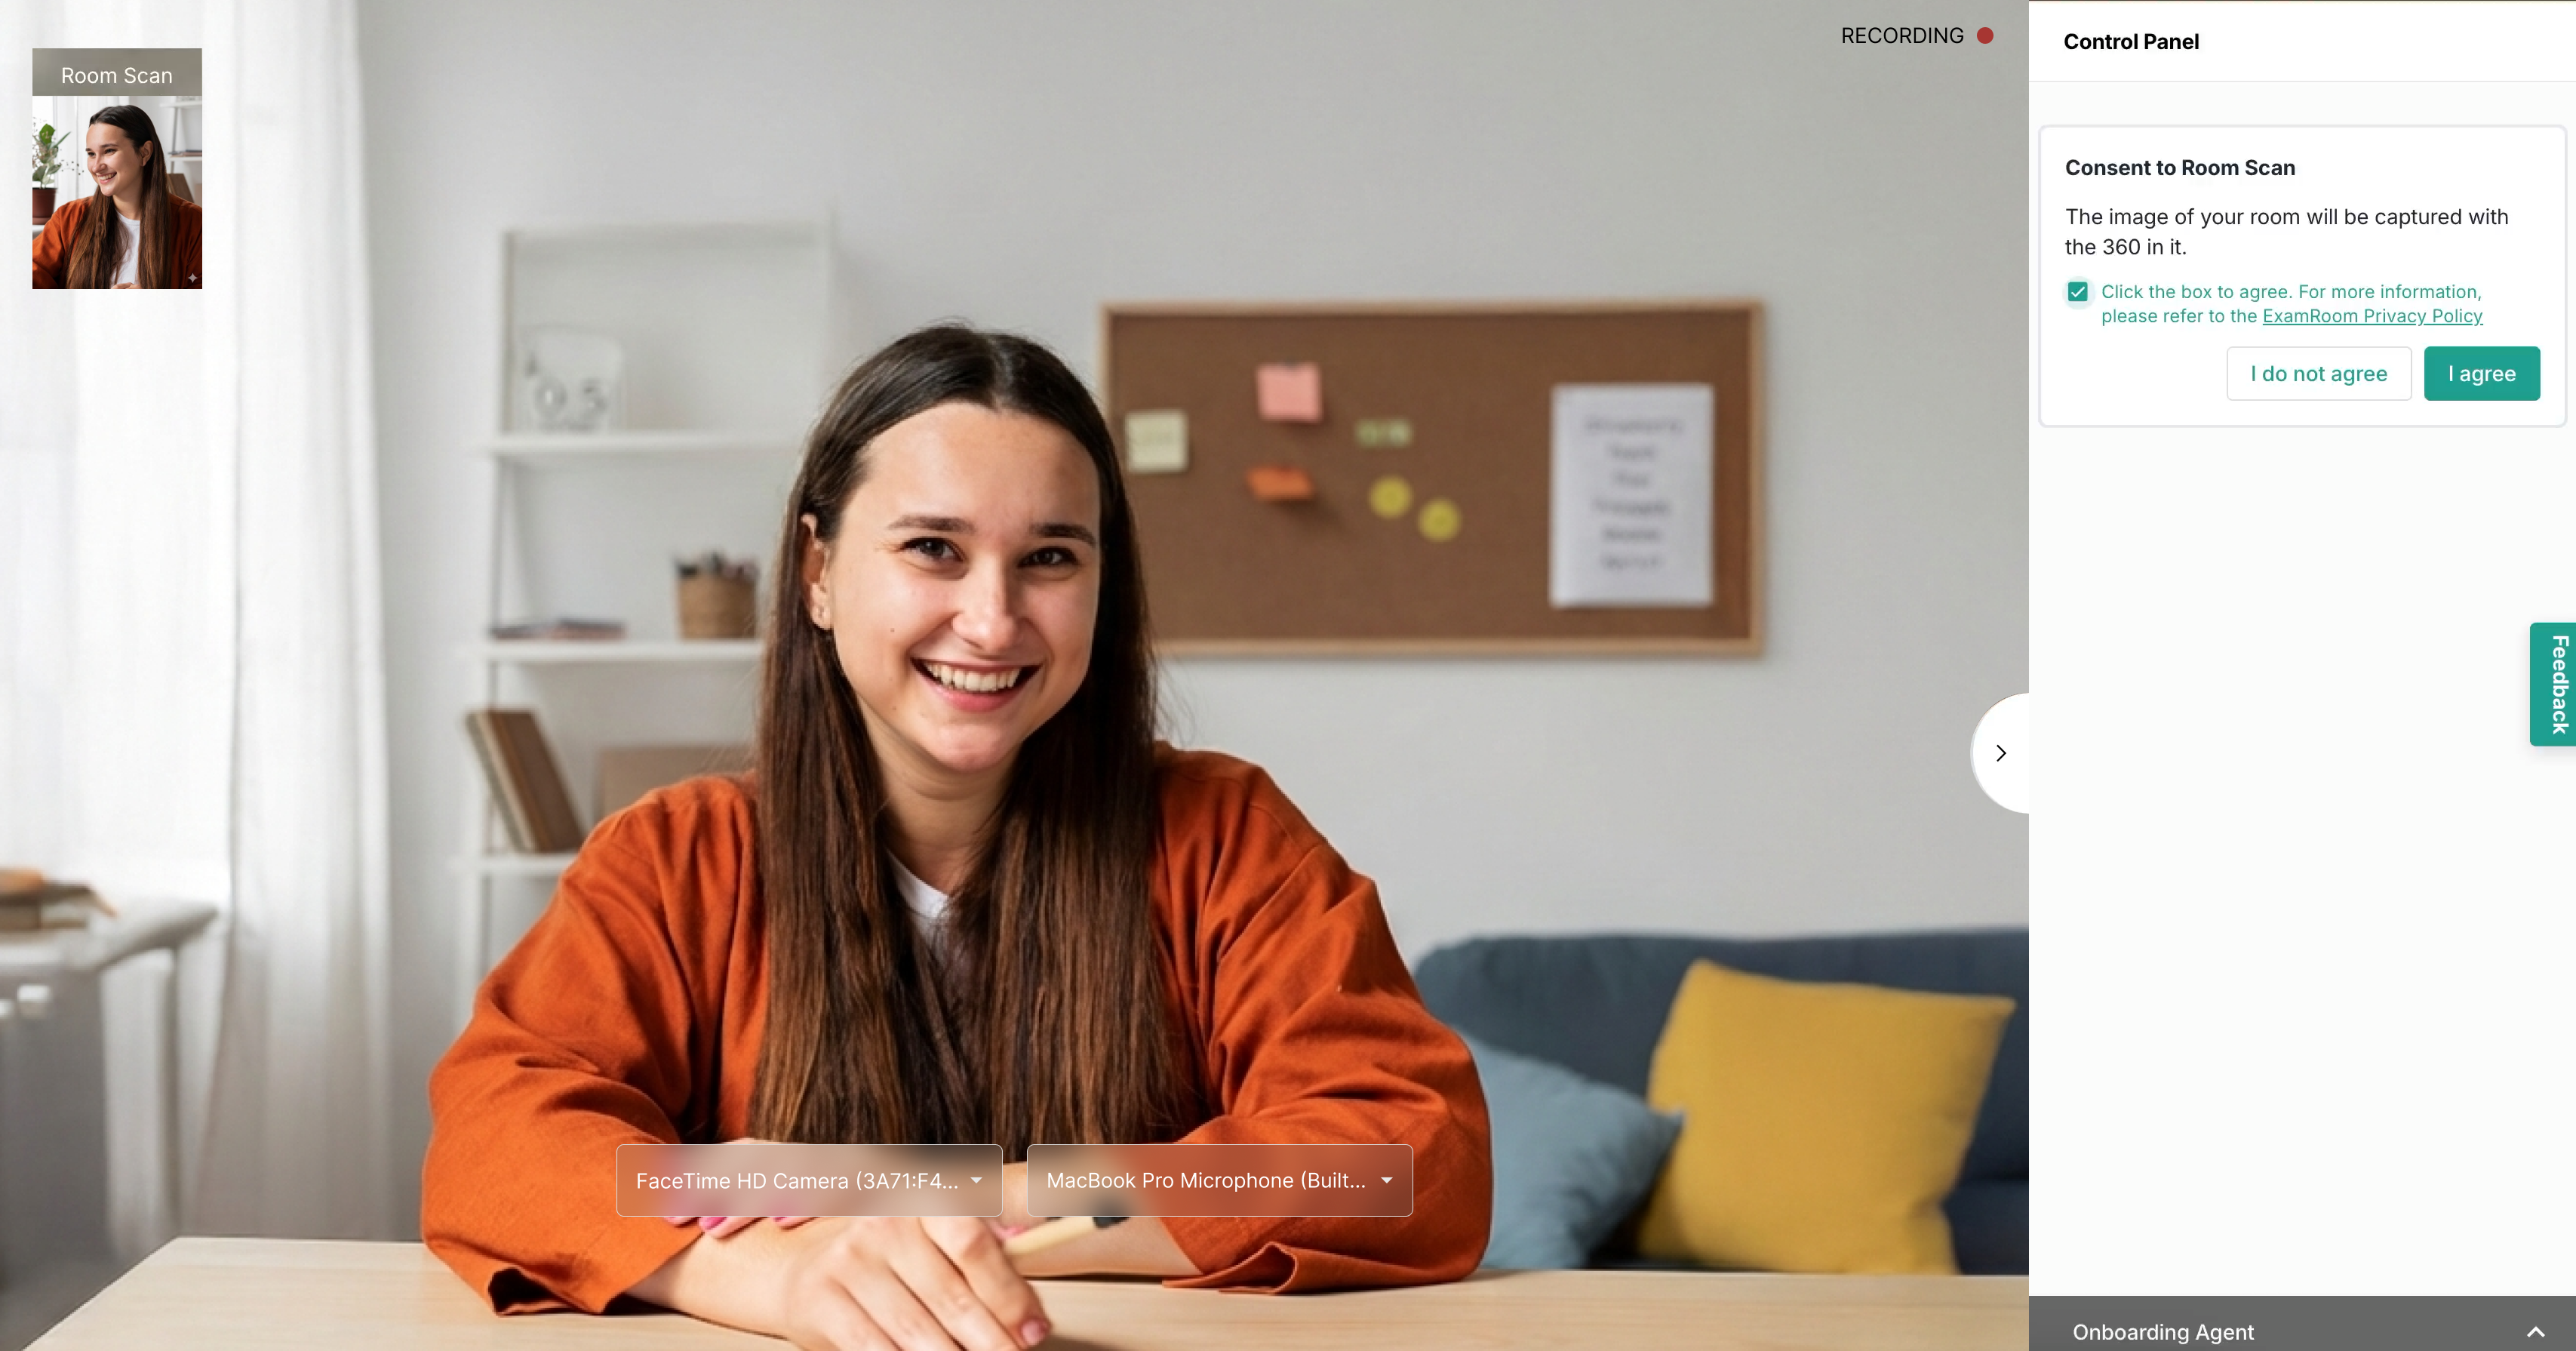
Next, select the checkbox and click "Iagree” to provide consent for a room scan.
Follow the room scan procedure as directed by the onboarding agent.
Once the face, ID, voice, palm, signature, and room scan verifications are completed, you will be transferred to a proctor.
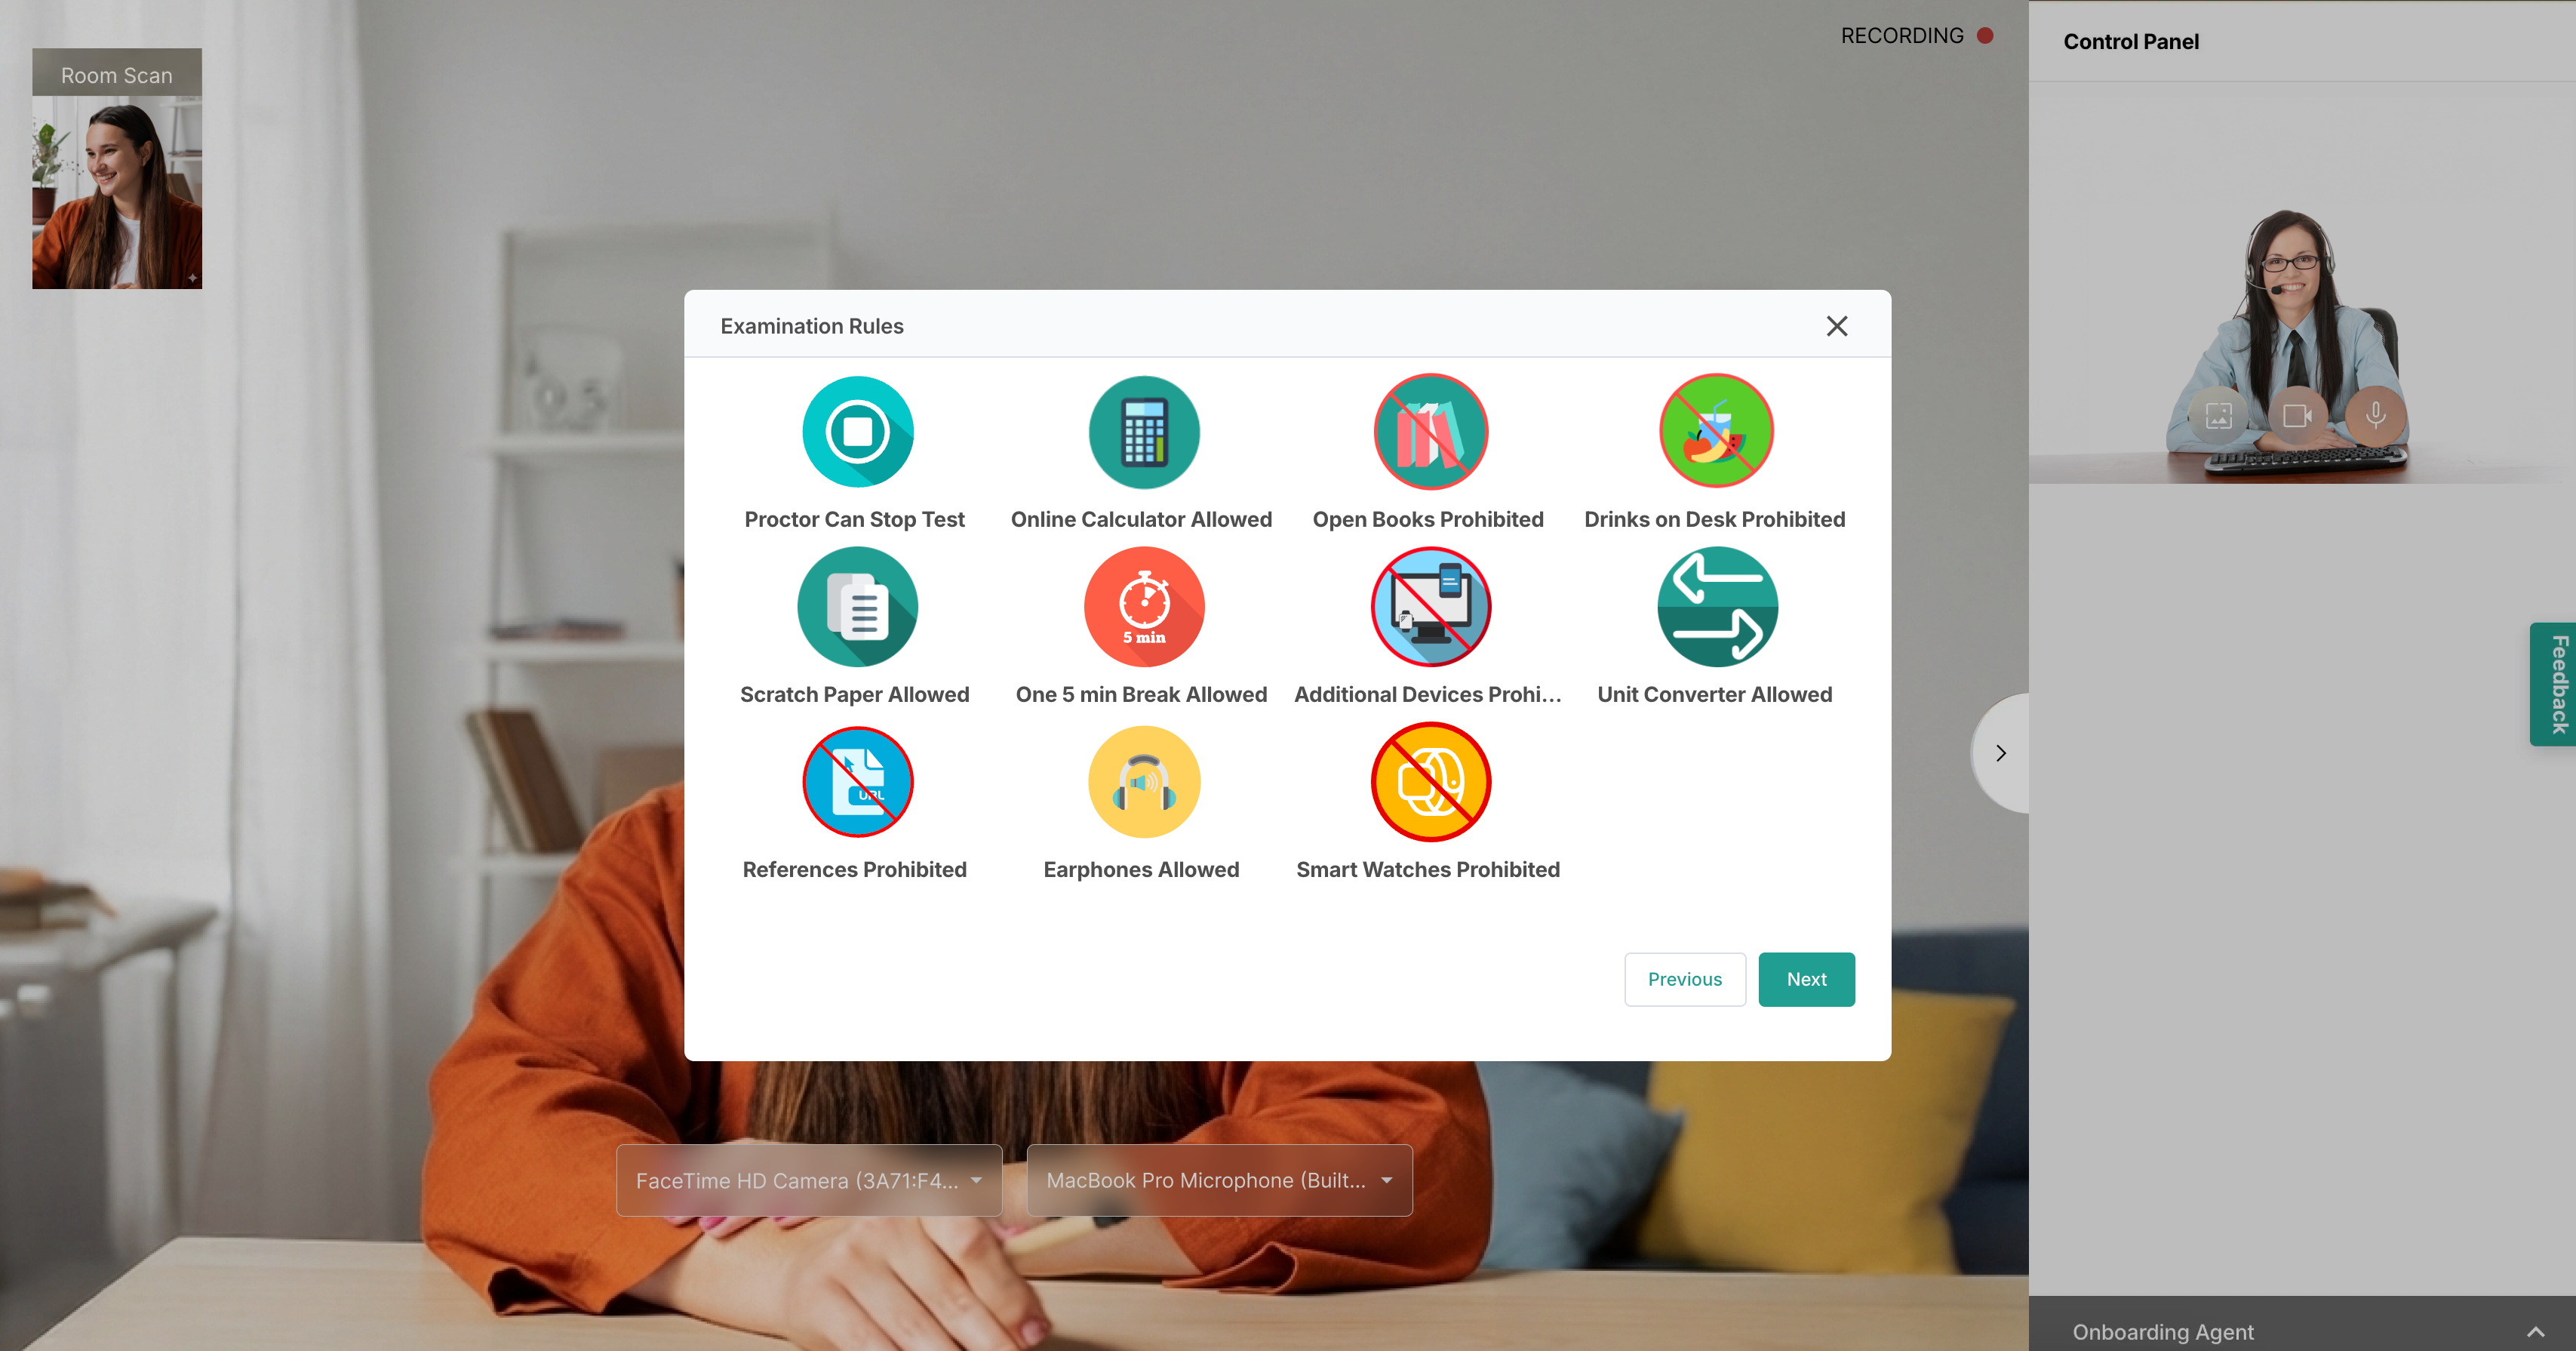
As the OBA initiates the transfer process, you will be provided with exam rules to go through. Click Next after reading the exam rules to go to the exam instructions.
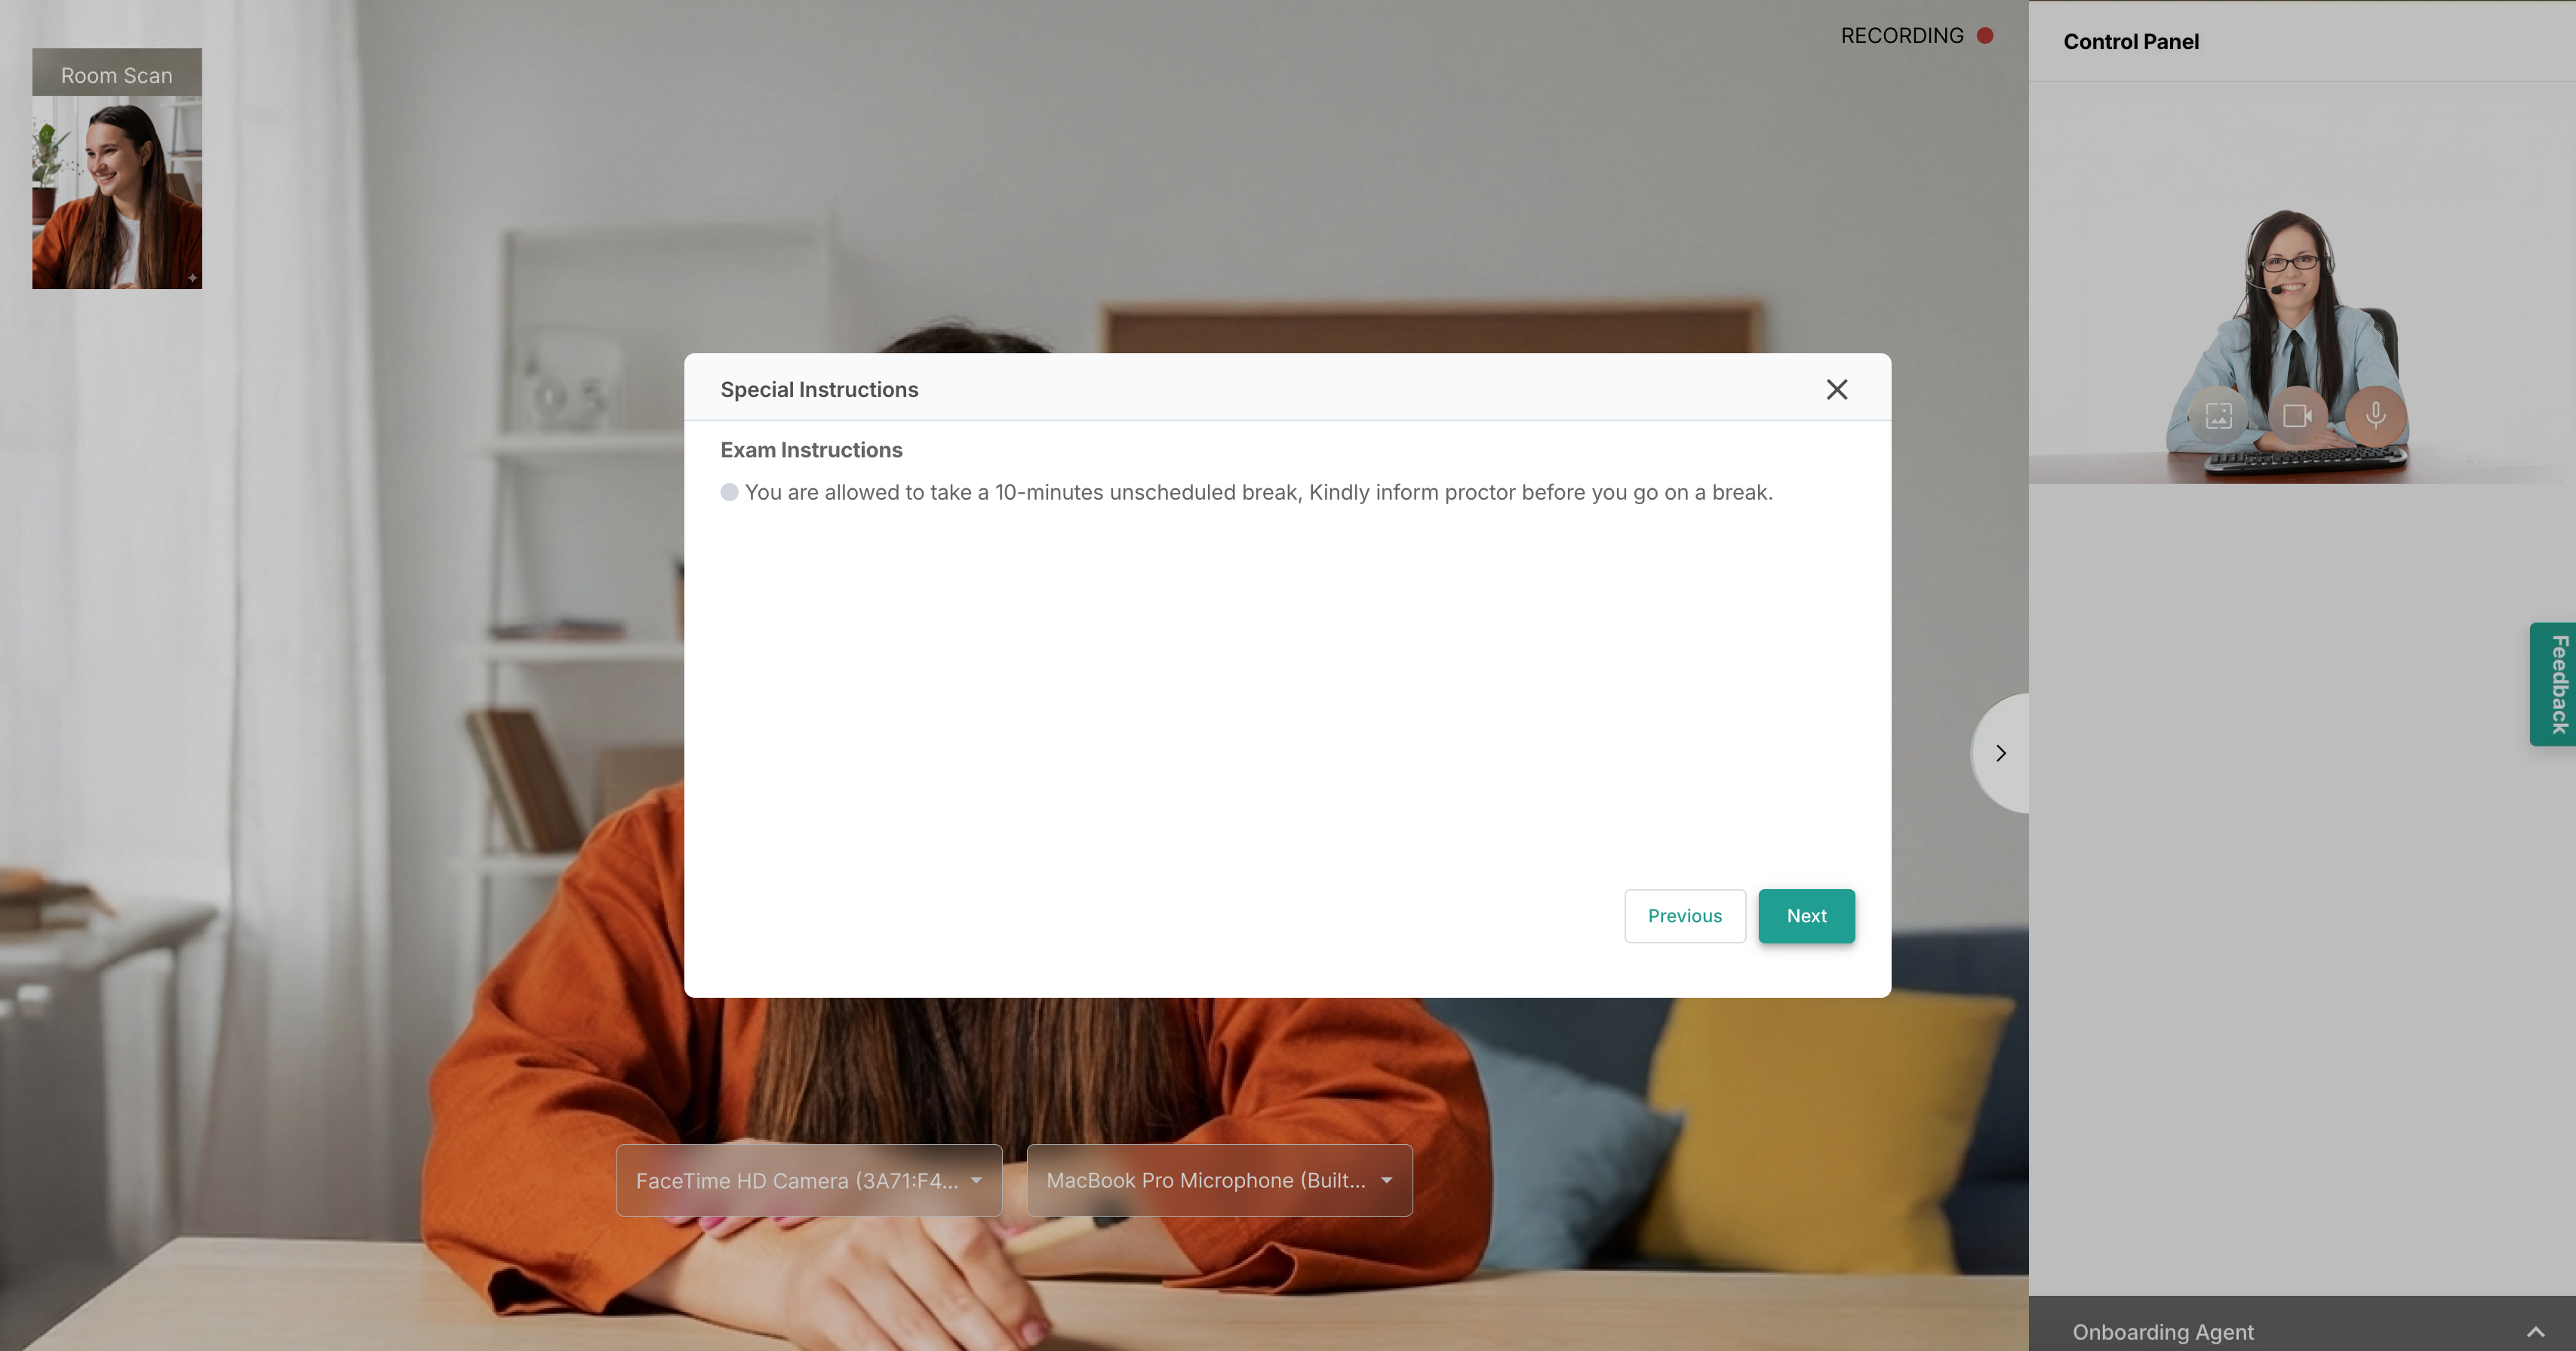
Read through any special instructions and click Confirm to start your exam.